Price:
You Build: AU $485
If we build for you: add AU $400
Contents:
- So What Does “Kit B” Contain?
- What We Have Done To Prepare The 3D Lightweight Flyer For You
- What To Do To Get Your 3D Lightweight Flyer Into The Water And Racing
- So What Does “Kit B” Contain?
Kit B is almost identical to the Kit A Dragon Force Conversion. The main difference in Kit B is that you will also be receiving the specially designed 3D printed Keel, Bulb and Rudder. This keel has the same keel box profile as Kit A (but thinner fin profile in the water where it counts), so you can interchange with the Dragon Force gear if you want to.
All modular and easy to swap over.
The aim with this model was to maximise the efficiency of the surfaces and get as much mass down at the bulb as possible with a lightweight hull, thinner keel and rudder.
Even the rudder (at 10g) has been specially designed to be lightweight but strong.
The whole development process has produced a balanced and outstanding performer that weighs in around 1000g. This mass can be optioned up or down depending on how you build it.
It is not hard to work out that when the mass is focused down in the bulb and the hull is light weight and slippery, then it has the potential to be a genuine “Flyer” for you.

Image 1: Full 3D Lightweight Flyer, design by Bill Hagerup.

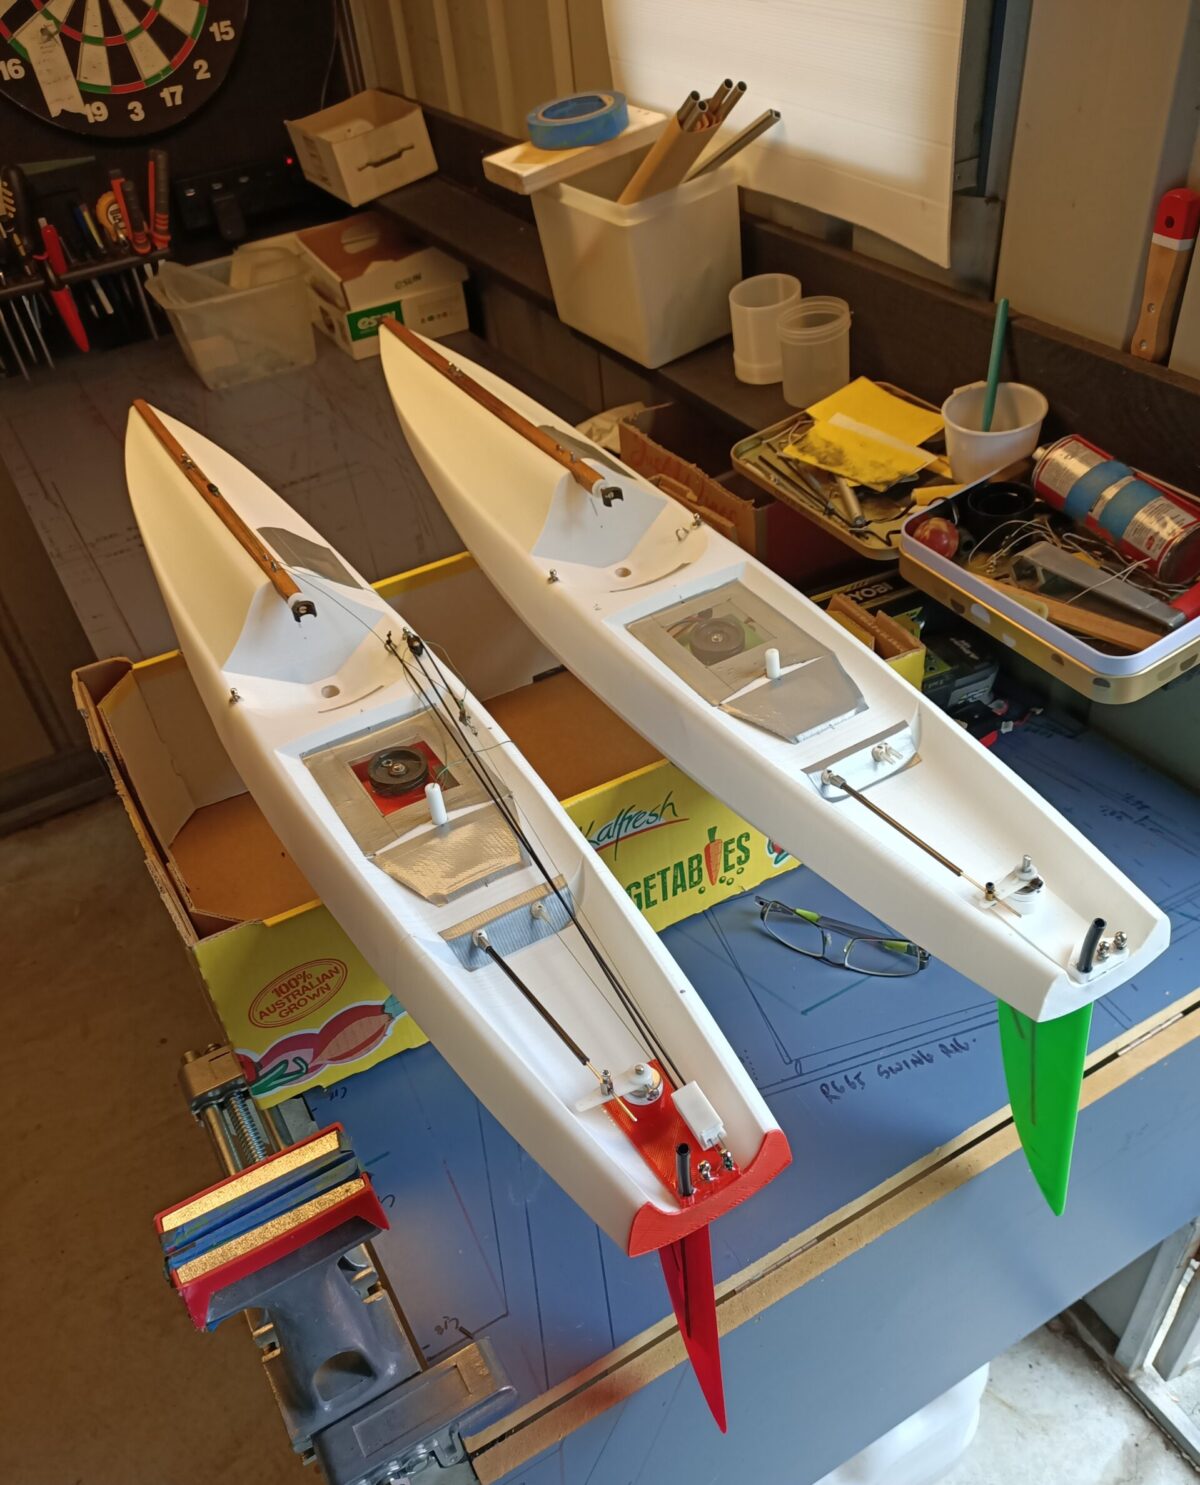
Image 2: Deck layout of the Full 3D Lightweight Flyer.

Image 3: “Glass Lady” Full 3D Lightweight Flyer, similar to the one you will be receiving
In a nutshell, what you will be getting is:
- A “3D Lightweight Flyer” Hull with essential fittings: reinforced keel box, battery shelf, winch/servo shelf, hatch surrounds, rudder support plate, foredeck support strut, backstay support, bung, sheet post.
- Lightweight Flyer Keel
- Bulb
- Lightweight rudder
- What We Have Done To Prepare The 3D Lightweight Flyer For You
Along with supplying the items and “Self Build Manual” needed to complete your 3D Lightweight Flyer, we also partially prepare the hull and fittings ready for you to finish.
- We epoxy coat the inside of the hull with a special formula to help with a superior attachment of the inside fittings.
- The hulls are water tight tested before sending out.
- We cut the main hatch opening to the exact size so all you have to do is epoxy the hatch surround around the edge of the cut to produce a lovely professional finish.
- We cut the battery hatch opening in the foredeck ready for you to epoxy the surround on and then attach the battery shelf at your preferred angle.
- We cut the rudder support opening ready for you to slip the Stern Plate into place. This helps with precision alignment of the rudder and the keel.
- We cut the keel slot in the base of the hull ready for the keel box and keel alignment.
- A bung hole is drilled.
- The lightweight flyer keel and bulb will be partly prepared for you.
- The lightweight rudder has a 3mm shaft installed.
So you want your 3D Light Weight Flyer built for you? No problem, we have a master craftsman for the job and the fee for hull completion is an additional AU $ 400
As you can see, a lot of the “heavy lifting” has already been done for you. We really did work very hard to make sure that these beautiful yachts could be easily and quickly constructed in just a few days. Then go racing.
- What To Do To Get Your 3d Lightweight Flyer Into The Water And Racing
A wise person once said:
“When All Else Fails, Follow The Instructions”
Yes, follow the instructions in the “Self Build Manual”.
Please note, there are number of options for your to decide on:
- The sheeting system will be completely up to you. We have seen so many different ways of doing this that we decided to suggest a method but leave it up to you. If you decide to follow the suggested system then you will need to source a couple of items to finish it: a deck mounted sheet return (see image) and single pulley (Hales micro pulleys are very good)
These are readily available for a modest price from most RC suppliers.

Image 4: Deck sheet return and Dragon Force rudder swivel

Image 5: Deck sheet return and Hales Micro pulley
- The electronic control system is also up to you. There are plenty of quality 2.4GHz systems now at great value.
- The keel and bulb will need to be attached with your preferred upward tilt for the bulb. Some may prefer to use their own bulb, depending on the mass wanted. Bulb supplied is around 540g
- The rudder pushrod and swivel system from the servo will also be up to you. We suggest sourcing the Dragon Force version or any generic version from radio yachting supply shops. A basic, no fuss but effective version can be seen in the deck layout image above and it is also described in the “Self Build Manual”.
- Use your preferred screw in eyelets or similar to suite your sheeting system and sail attachment positions.
- Have the following materials and tools ready:
- A small supply of quality epoxy glue
- A non brittle “superglue”
- A quality model cutting/drilling system like Dremel
- Basic tools
You have many options to do your “special thing” on these “3d Lightweight Flyers”. Or, you can simply follow the formula in the “Self Build Manual”. Either way, the yacht is easy to put together and has many flexible variations for those of you who can’t help themselves and want to “customise” their special yacht.