The 10R Sabre 3D
After the lessons learnt from the making of the two 10 Bananas prototypes, Bill and I turned our attention to bringing up the best of the Sabre design and blending it with the best of the Banana 10Rs.
This is more of a story via pictures. I’ll post images of the building as it happens and later in the water and competitions. This design feels good from what I’ve learnt over the years racing 10Rs.
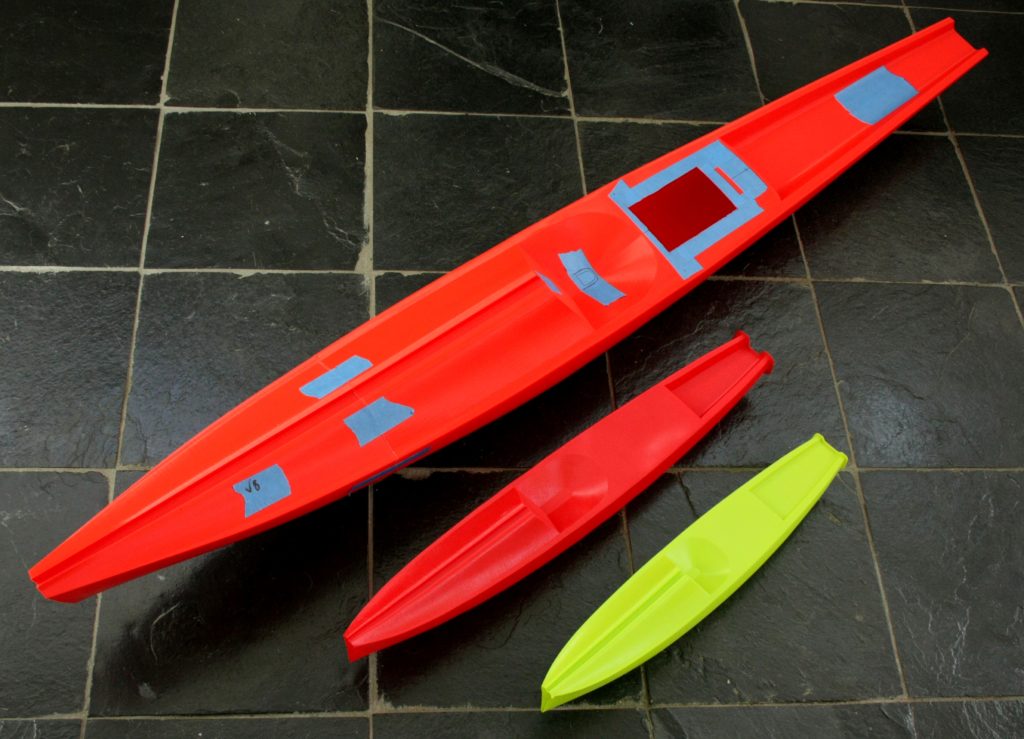
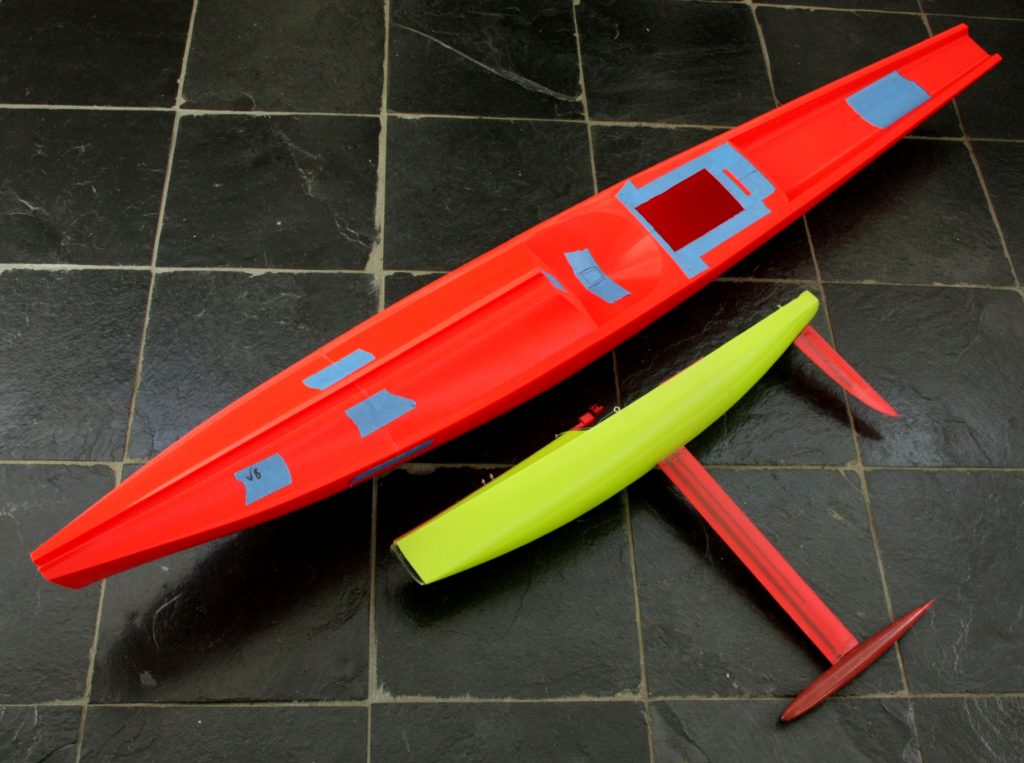
The original Banana (blue and red) was very skinny and competed very nicely in light winds on flat lakes but was left behind when the waves increased. The second Banana (yellow) was wider and certainly performed better further up the wind range, but again towards the top of the A it too was not fully on the pace.
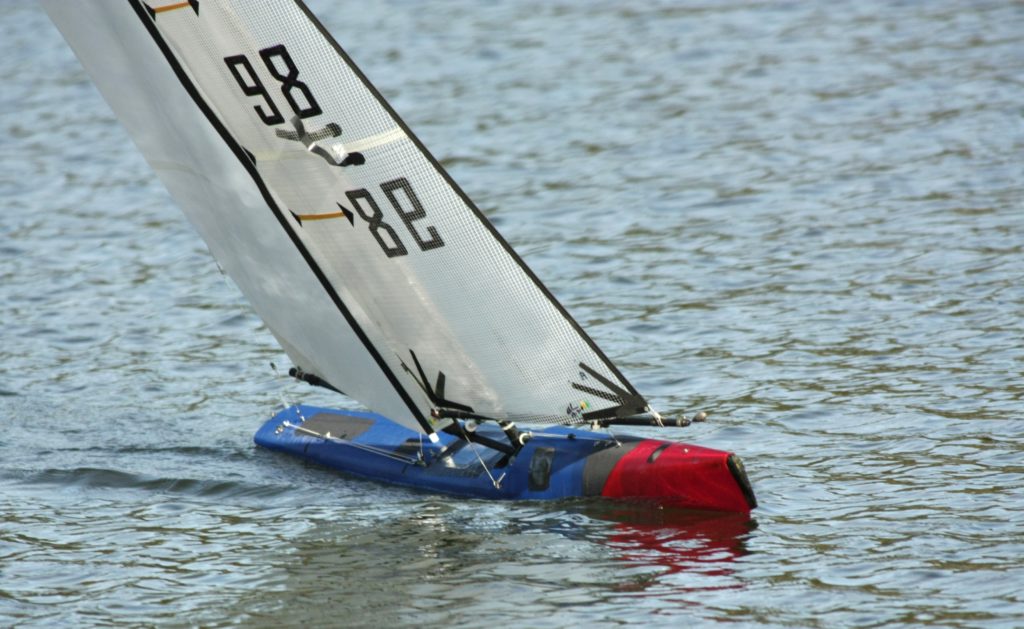
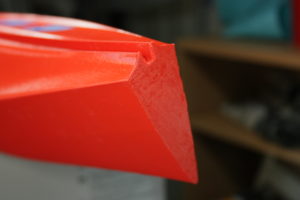
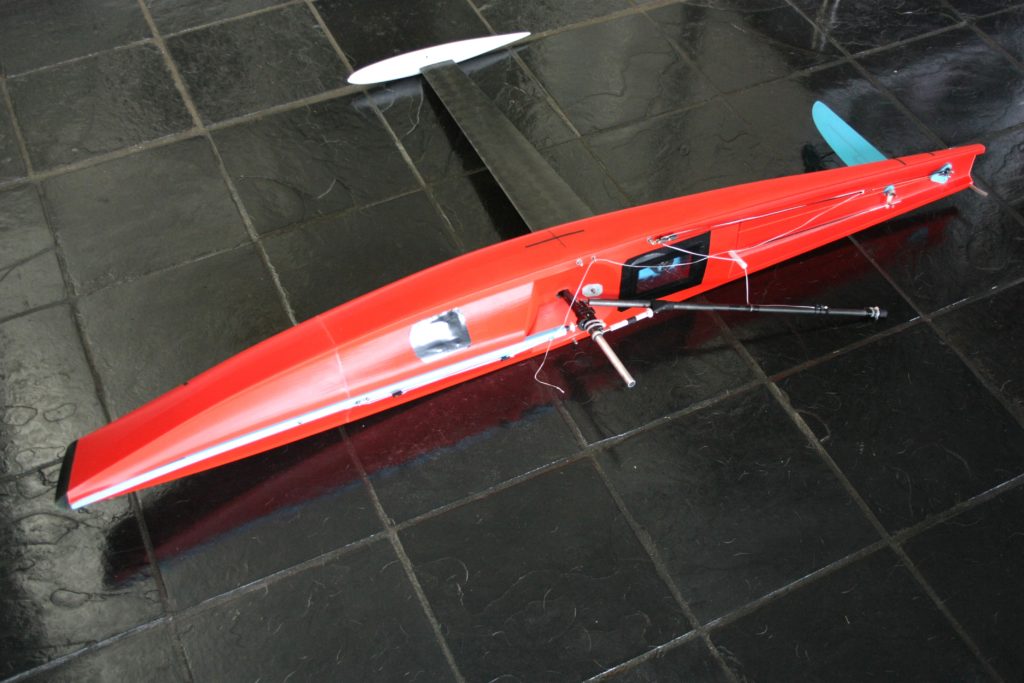
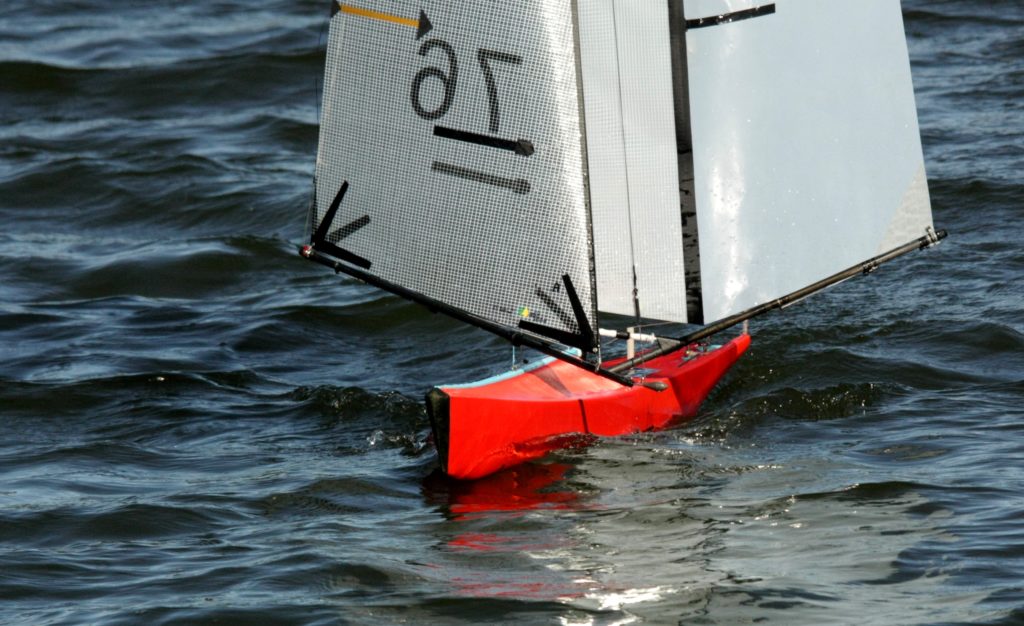
So this new design, called the 10R Sabre 3D has the very familiar rigid deck layout that can be seen on all our current designs with the Nano, 65 Class, IOM and now the 10R. The hull is radically different with flatish sides and a flatish base to the hull. The Bananas have a very rounded hull and deck.
Anyway, I’ll continue to post the images as it all happens. You will notice a strong similarity to the other designs in terms of the “Lego” approach using already designed internals parts and adapting them.
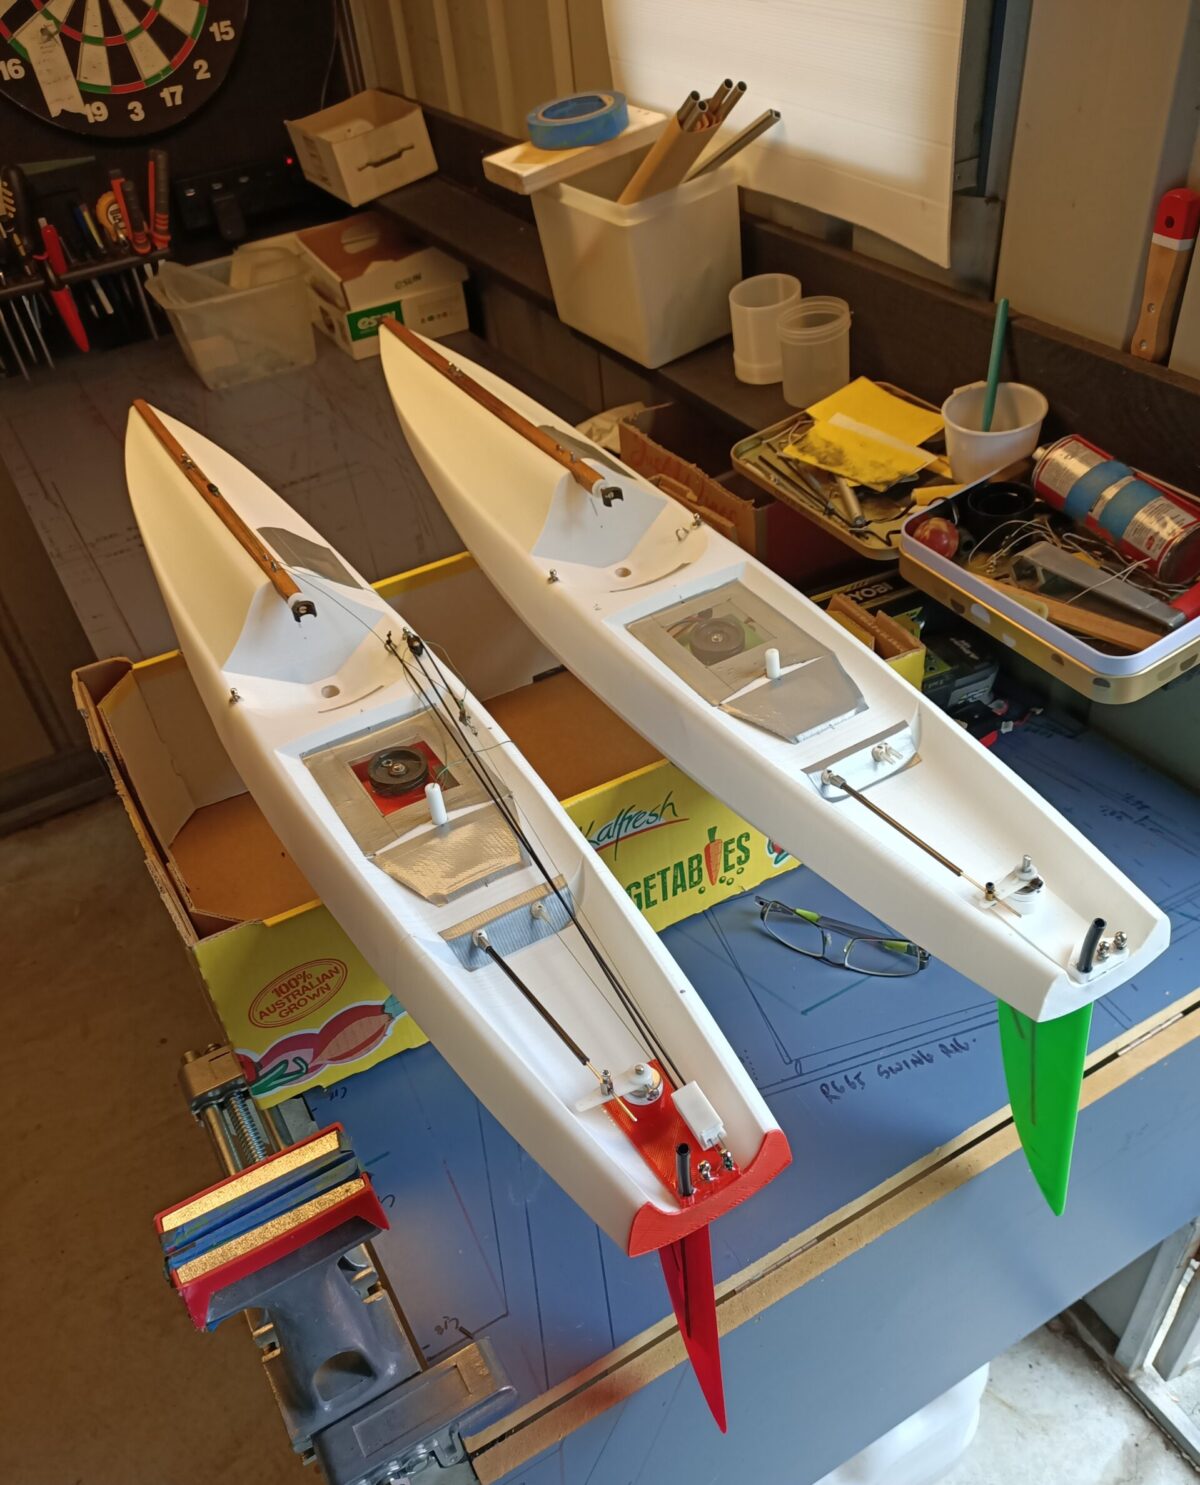
10R Sabre, 65 Class, Nano
10R Sabre and a constructed 65 Class
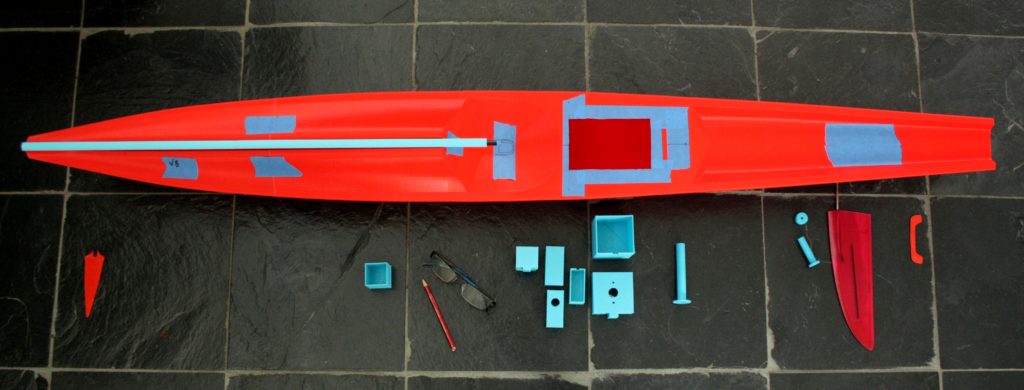
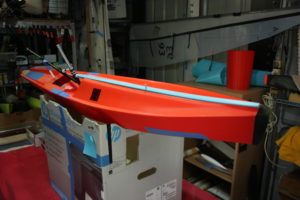
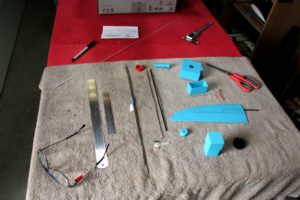
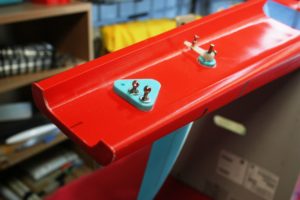
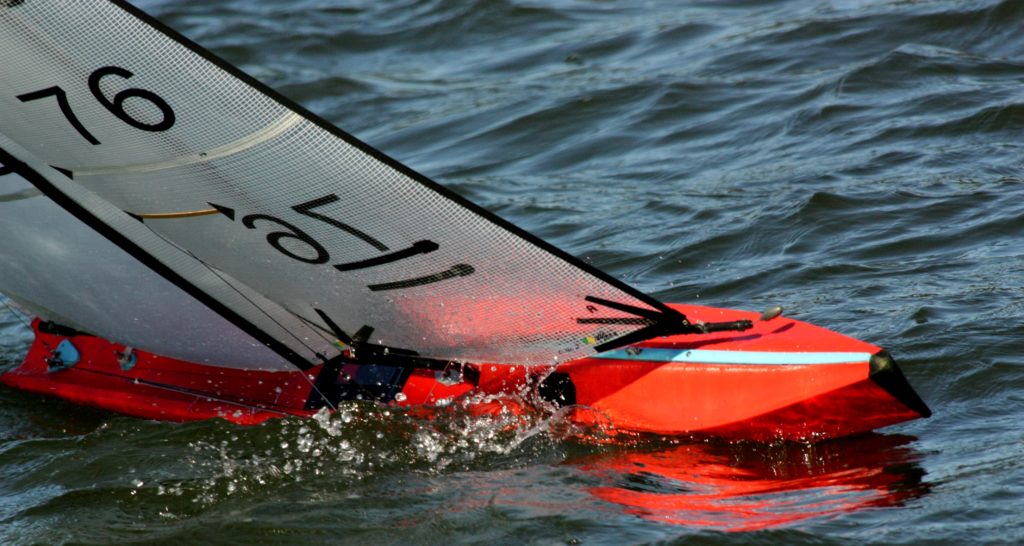
10R Sabre at 1561 mm and some of the parts to be installed. The design is very stiff, as is needed for an RC yacht this size.
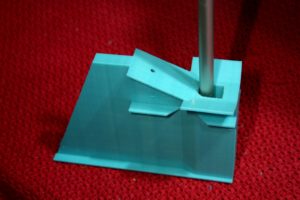
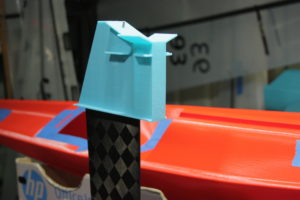
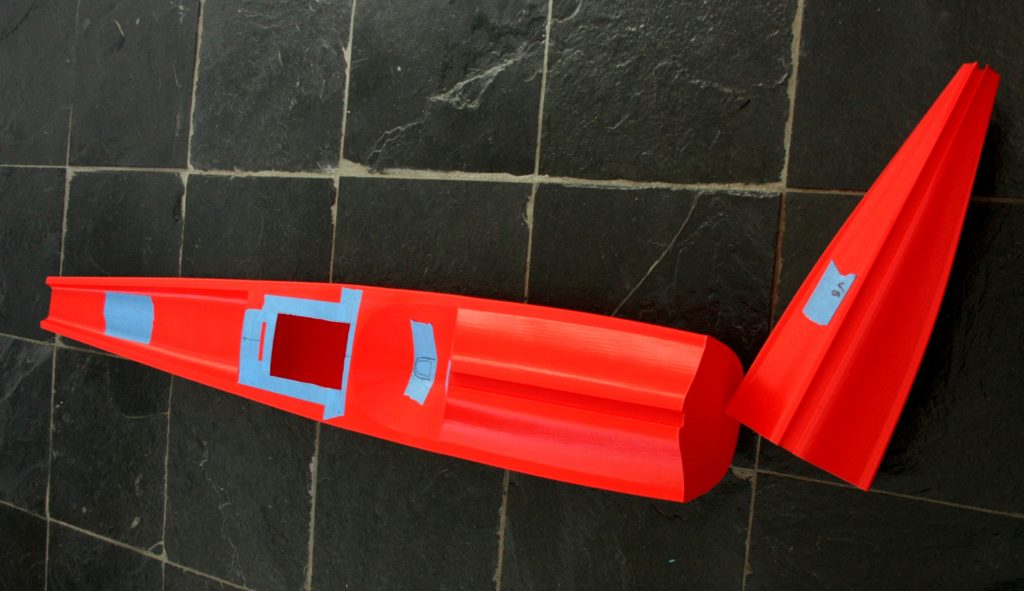
The keel box (chain case) is a very important core structural element especially with the stresses these yachts endure in strong breezes. The “structural unit” includes the keel box, 45 degree angled struts, carbon or aluminium tube beam and horizontal struts. This stiff unit keeps the keel and mast connected and takes most of the stress. The hull is basically just attached and floating the system, to put it simply.
I originally tested the system by building a mock up without the hull to see if it was resilient enough. It passed all the torsion and stress tests I put on it. The hull adds stiffness but the “structural unit” is stiff and strong enough by itself.
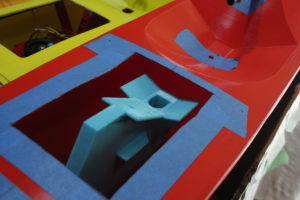
Step one:Insertion of keel box is step one. In this case just add epoxy top and bottom and slide in, all lined up of course.
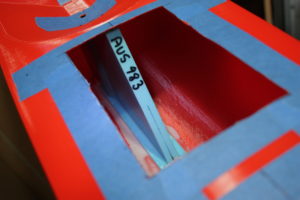
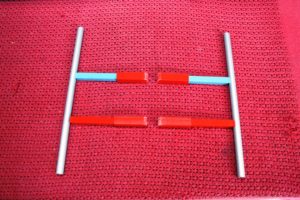
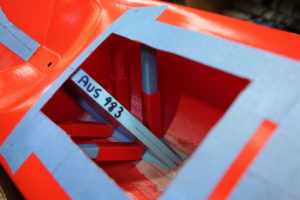
Step 2: Inserting the struts and tubes. To get a tight fit the struts are telescopic with a small spring inside. The horizontal struts are added at the end (not shown). All epoxied when finished
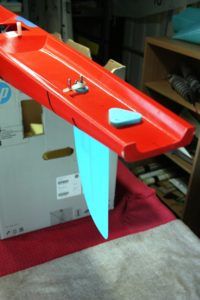
Adding the bumper is a basic job, I shape a piece of dense sponge. Printing a bumper is possible, but I found it easier to do it this way. I glue it on with good quality super glue.
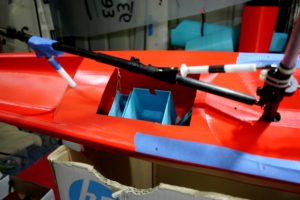
Adding the bases of the water proof winch and rudder servo boxes. These are part of the “lego” style approach. You can see these in all my boats now.
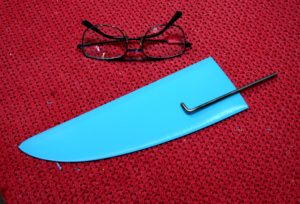
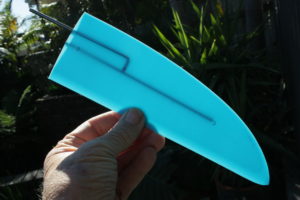
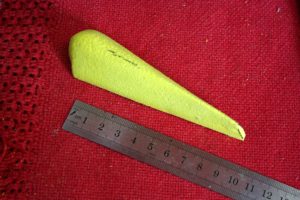
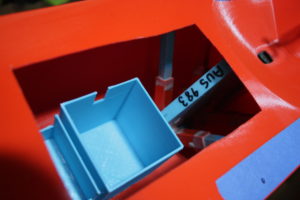
The rudder is also another “lego” approach. All the rudders I use came from the one design for an RG65. All is needed is for the sizes to be scaled up or down depending on the boat. I print a shell using a 0.5 mm nozzle. Then add a 4mm stainless steel rod and a carbon rod for stiffness. With the stainless rod, file the section down that is being inserted into the rudder. How much depends on what chord thickness you want, this one is a 6.5% section most of the way down.
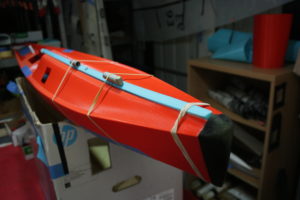
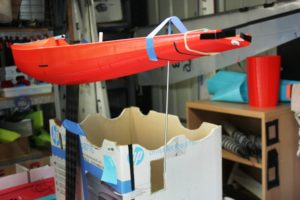
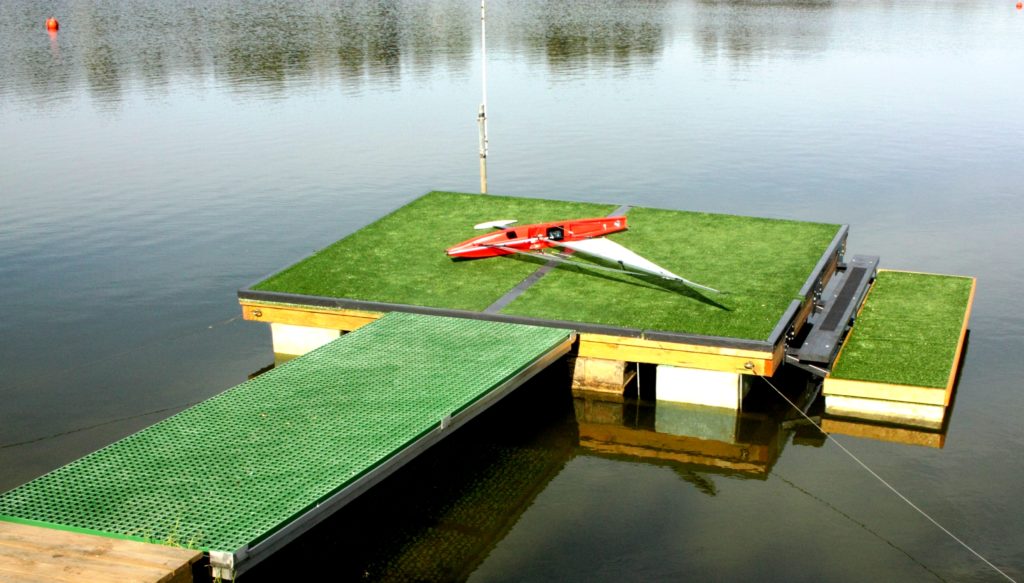
Construction finished, off to the pond.
Note the similarities between the 10R Sabre 3d and the latest IOM Sabre 3d
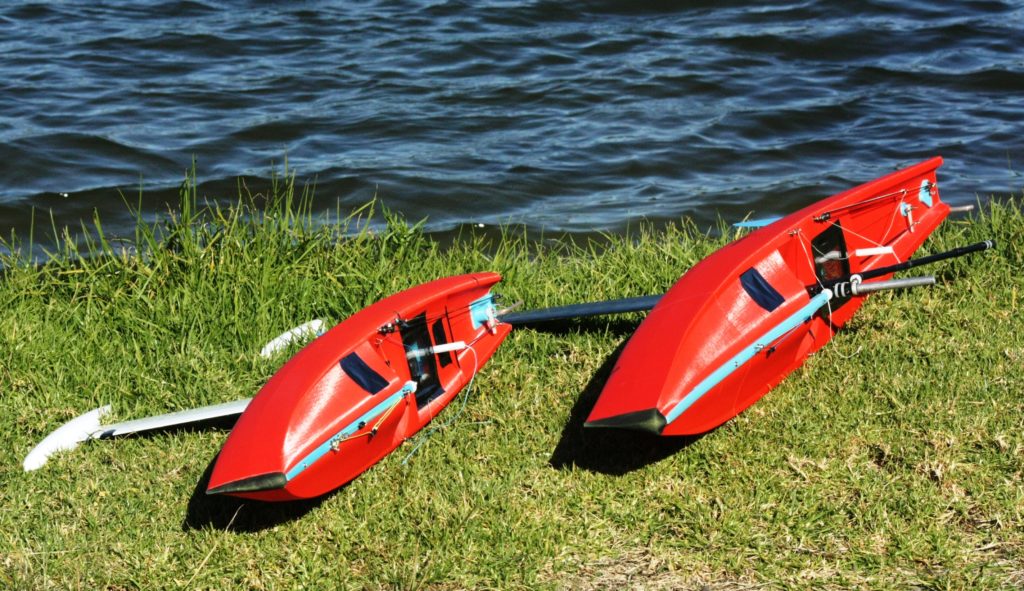
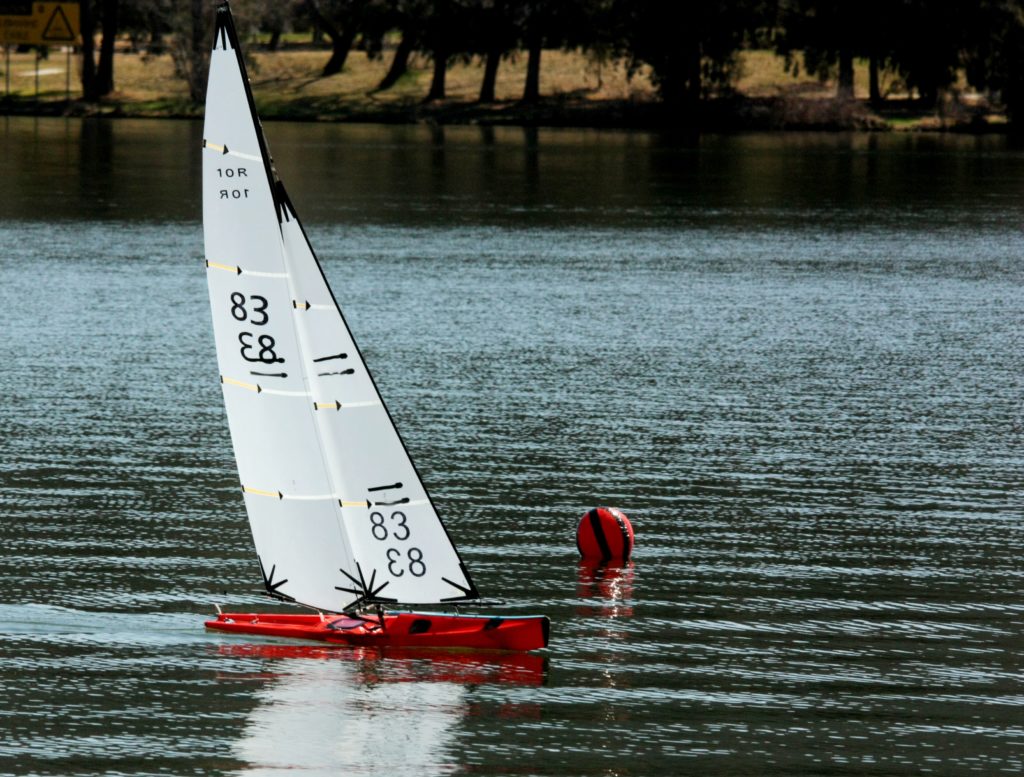
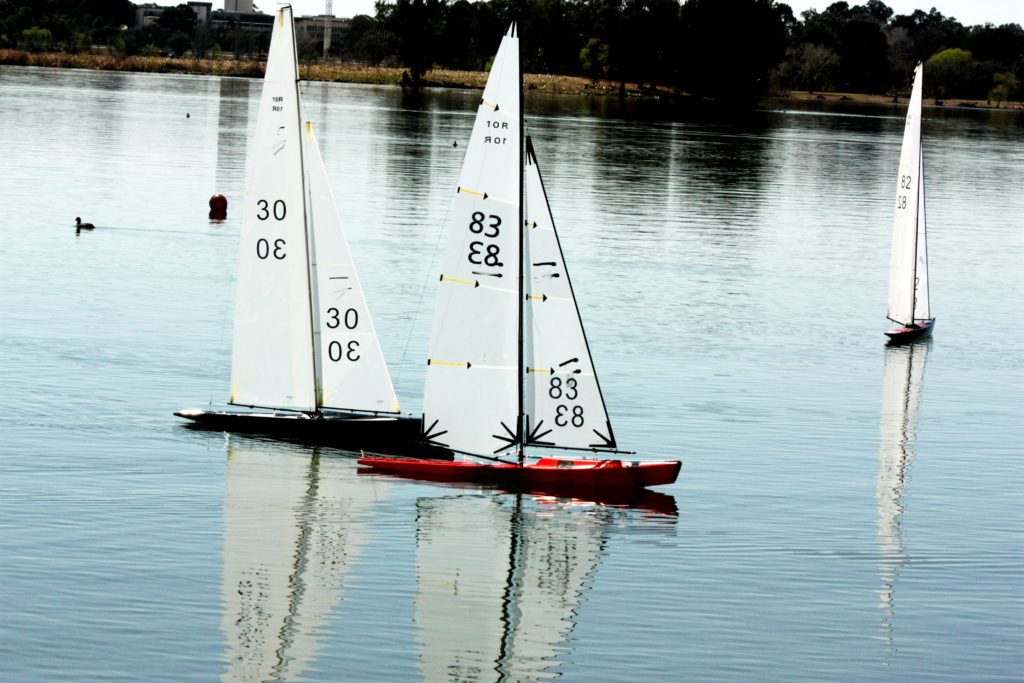
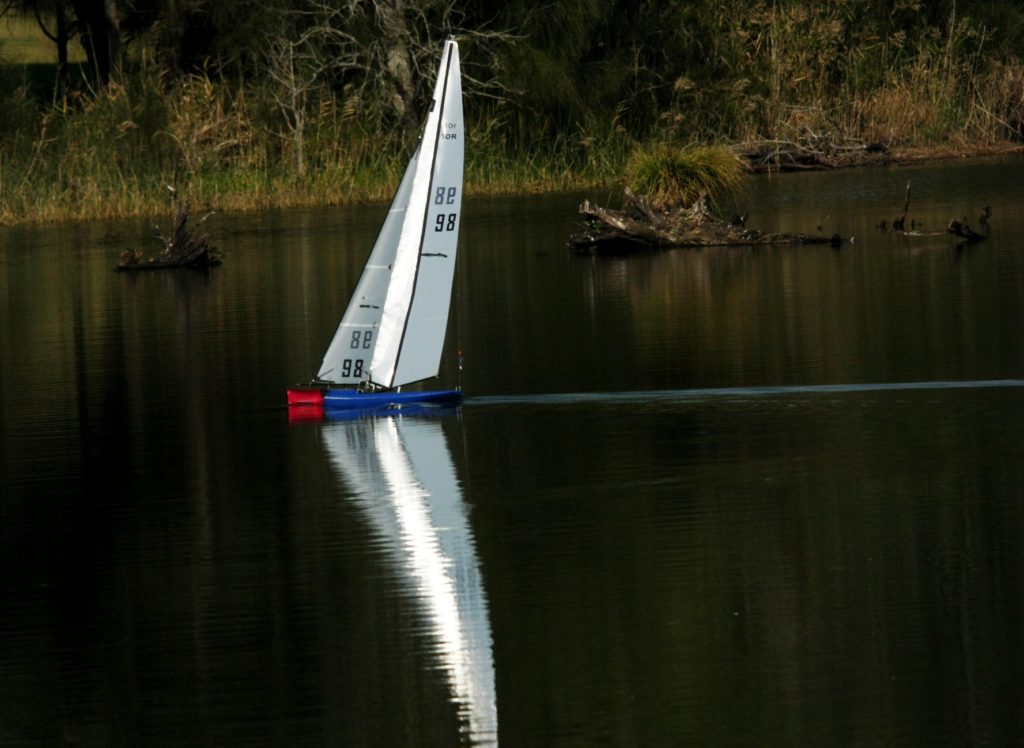
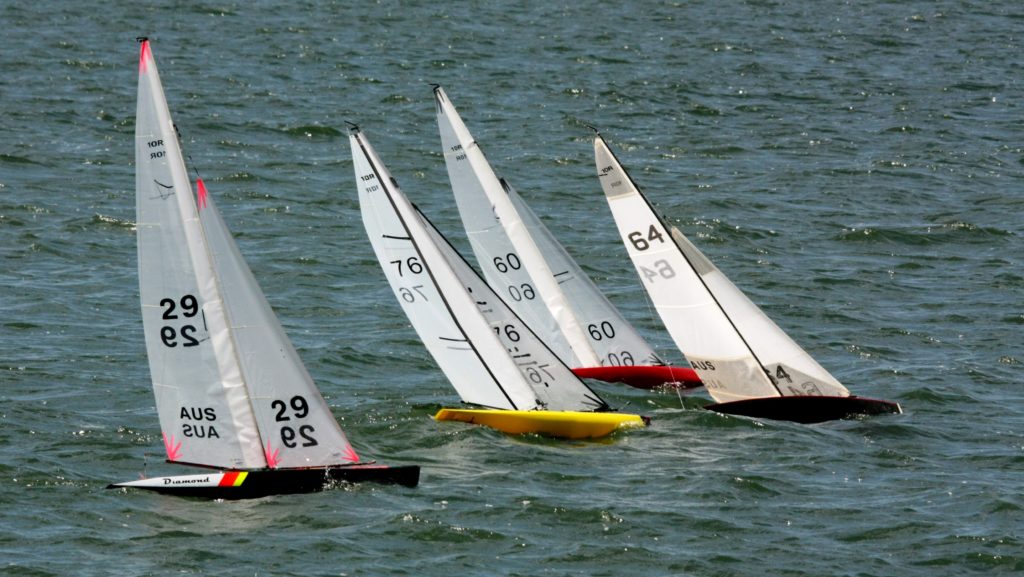
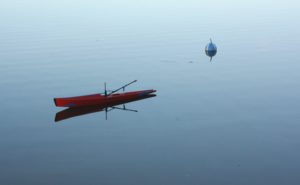
And into the water for the first day of “shake down”. Warren brought his nice fast 10R to help tune up the Sabre.
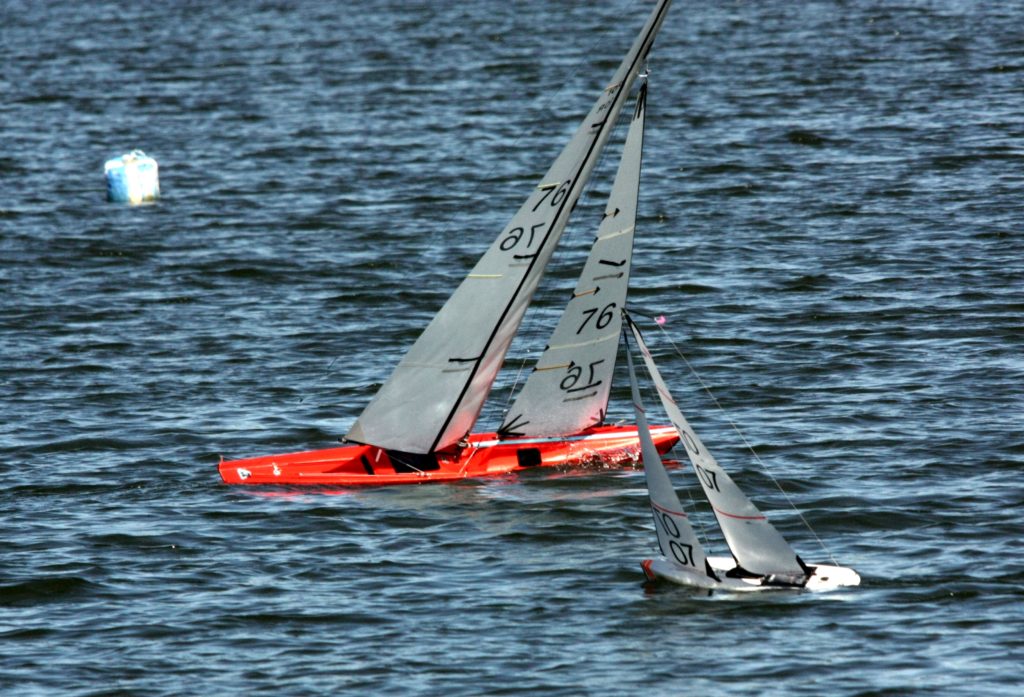
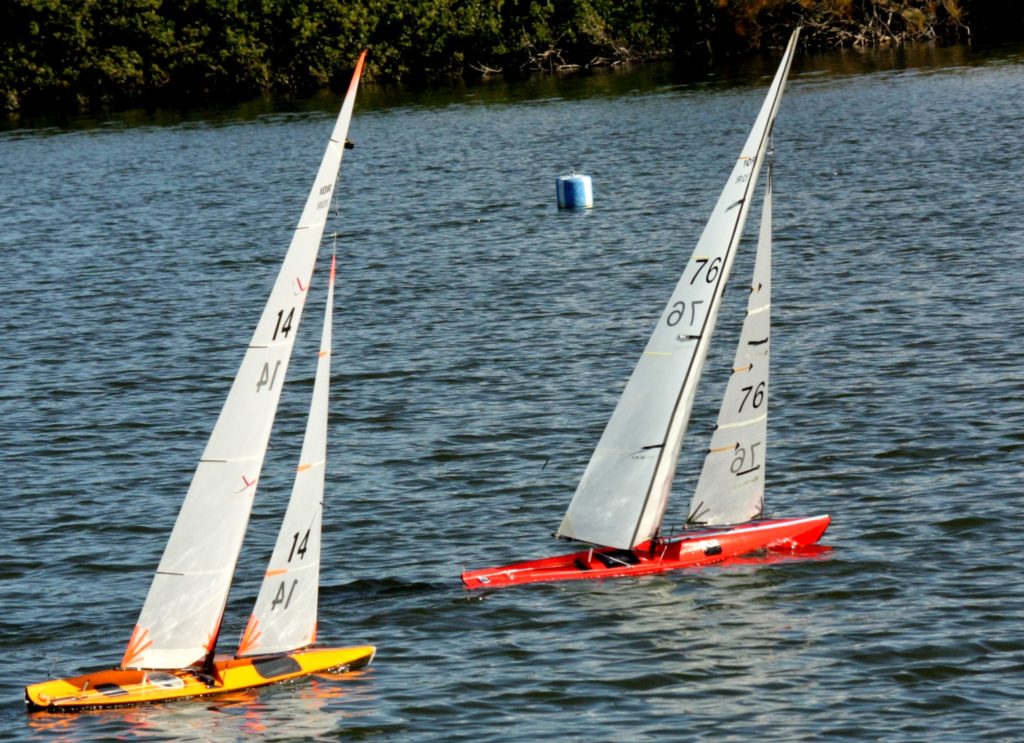
What can I say, except this latest prototype is faster and stiffer than the first two and definitely handles the waves in the top end of A rig much better. Feels very stable even when hit by sudden gusts going downwind. I can hardly wait to get to the next major regatta to test against the best in the country.
_____________________________________________
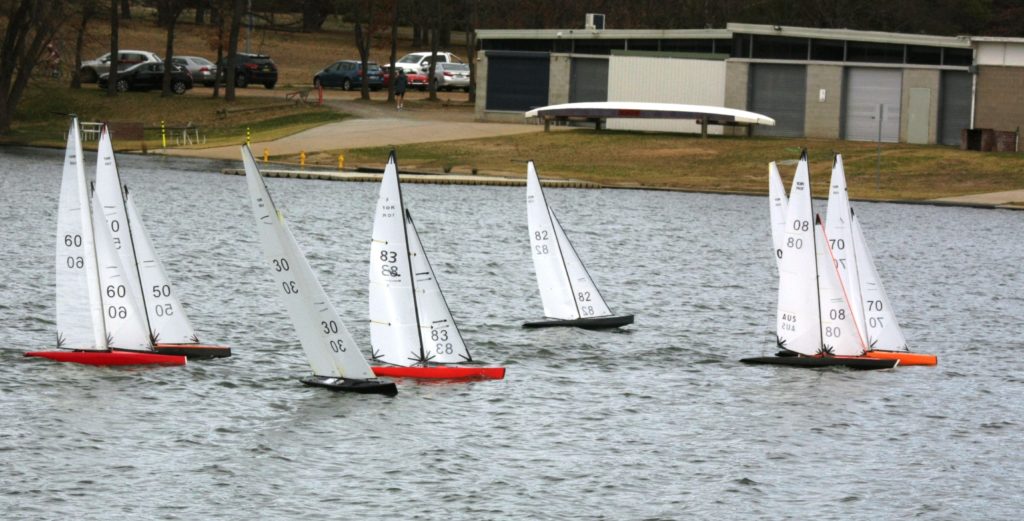
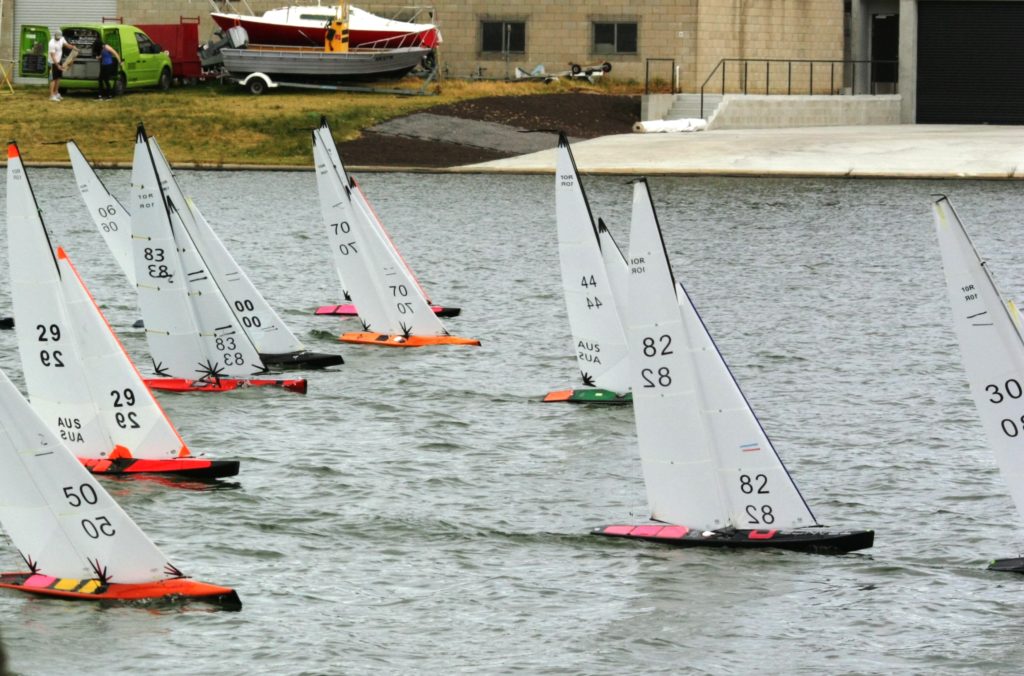
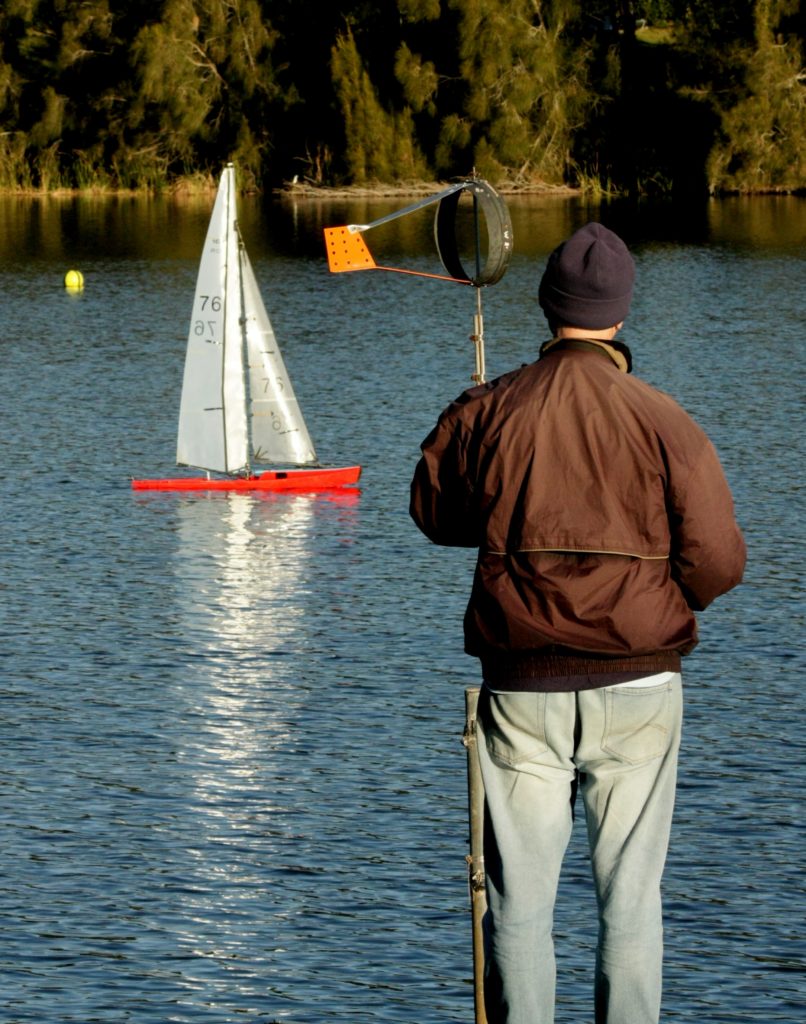
OK, finally got to a major championship. One of the Australian State Titles. Was thoroughly out sailed on the day by some of the countries best sailors. Multiple national title holders at the event, all rather humbling.
BUT, the Sabre went very well when in the wind zone of the two A rigs I took. Hadn’t had a chance to prepare more rigs, so when the wind came up had all sorts of trouble tacking etc. At least I got a chance to see the relative performance. All really encouraging. Have B and C rigs now for the next event.
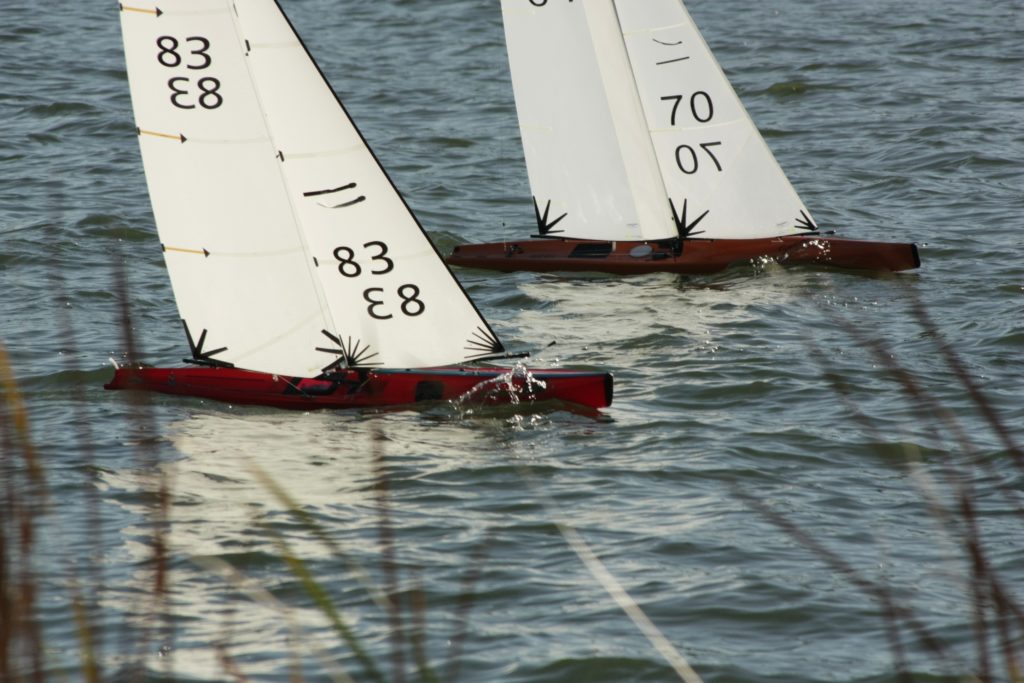
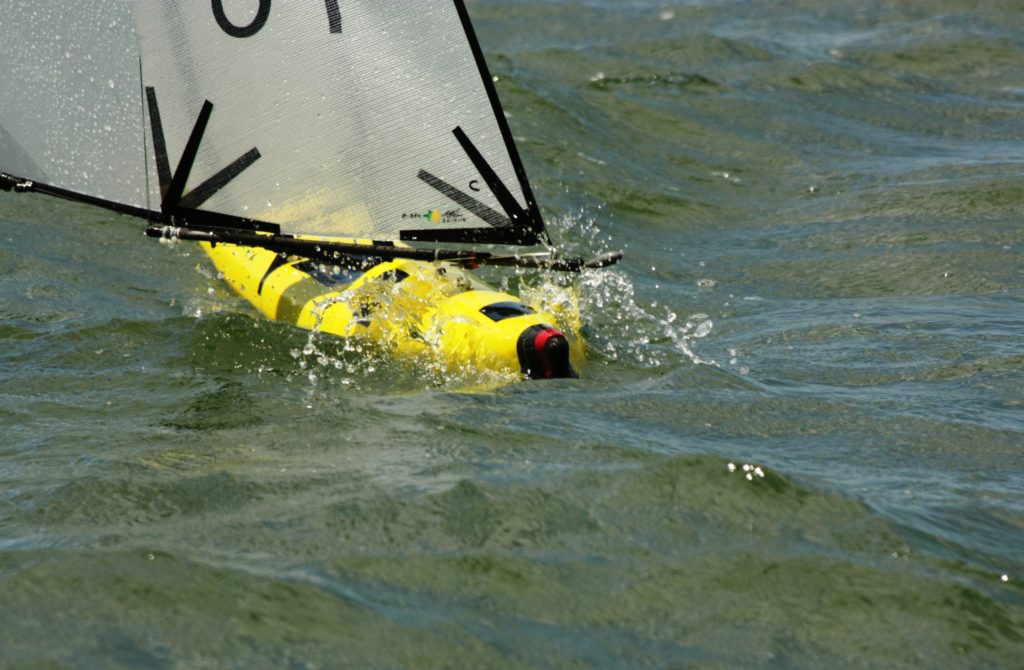
Watch out for number 83.