How to Sleeve Hull Sections Together
When I was printing the first of the Sabre Plus hulls, I was getting a number of email questions concerning how to join hull sections.
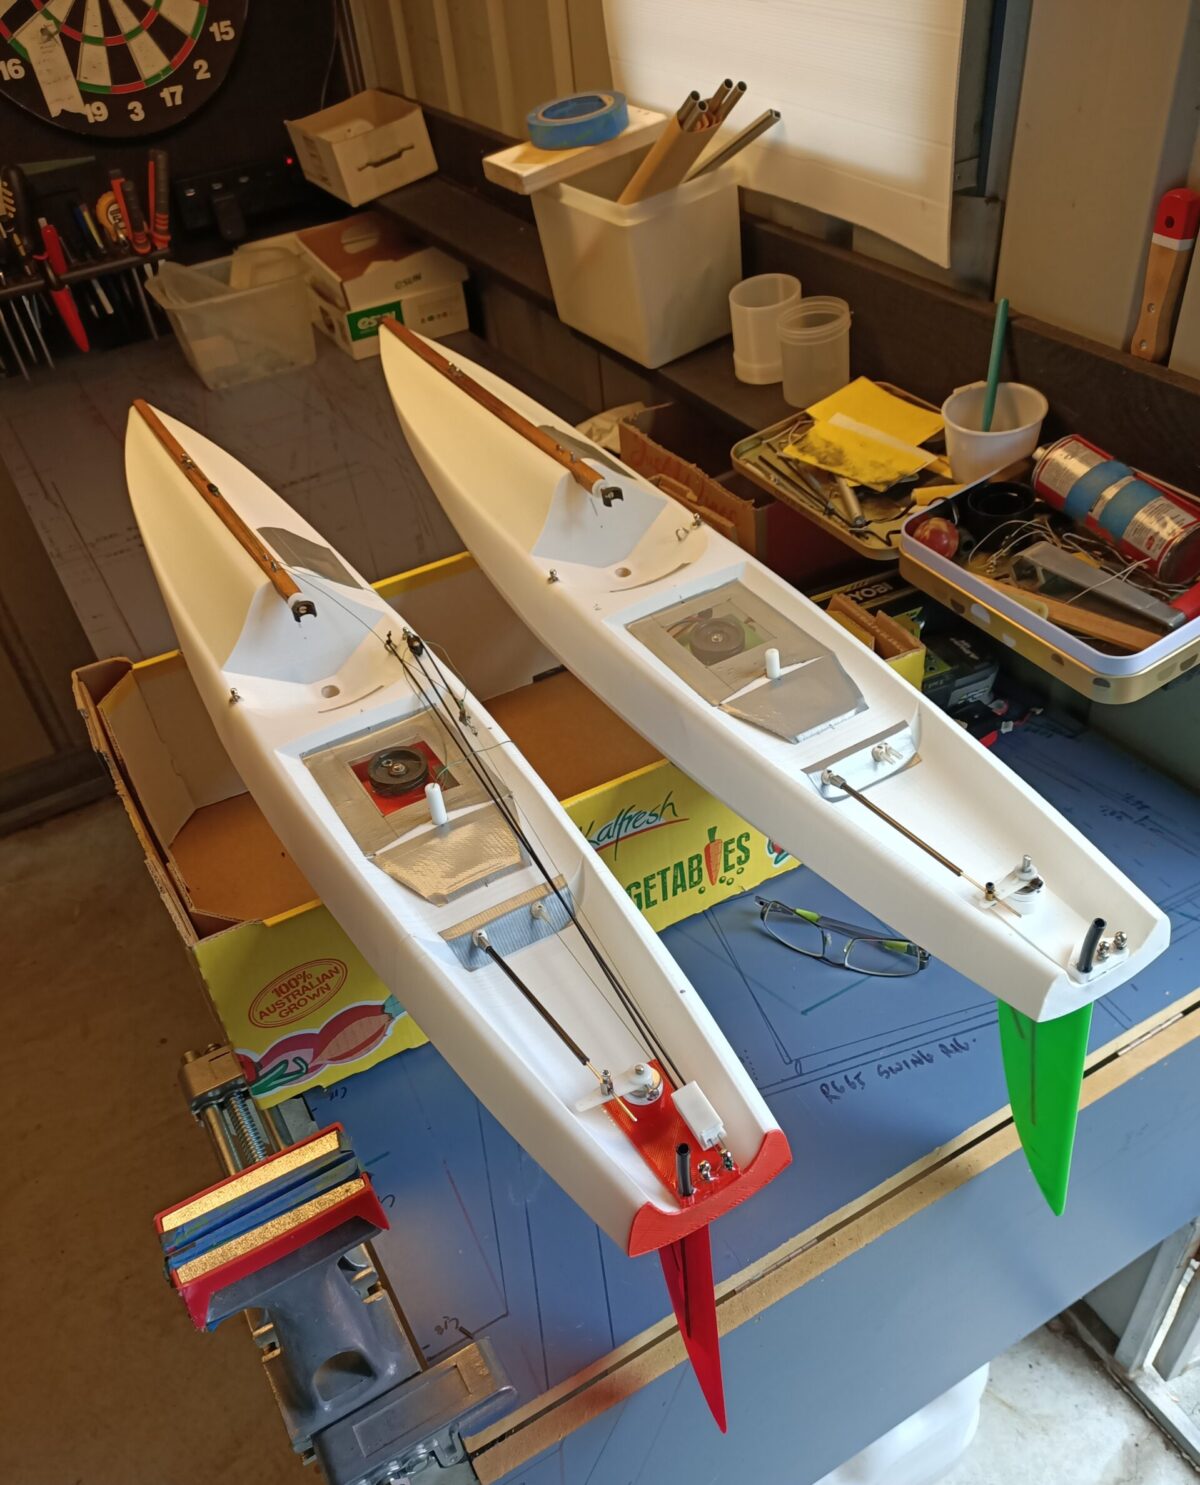
While I have the machine to be able to print full IOM hulls I decided to do a two section hull instead to display the technique of sleeving.
I can remember how we also started. The first hull Brian Dill and I ever made was an RG65 design from a Craig Smith design that was printed in 5 sections.
At the time it seemed the obvious thing to create flat surfaces for each section to join to the next. I can remember spending hours getting them all line up properly and then more hours sanding the surface back to smooth everything out. I nearly gave up at this stage, because I thought we would have to do 8 or 9 sections to produce an IOM eventually… oh dear, not a good start.
This encouraged me to purchase a good quality large volume printer from the start. It can do 500mm sections which meant 3 lengths to make an IOM. A better outcome, but the joining was still a hurdle to get over.
However, the story has turned out good. Eventually we worked out that it was much easier and simpler to make a sleeve to slot inside each part of the hull. It also added to the rigidity of the hull, always a good feature.
I have seen many different variations on how to join, some are an engineering delight. But I have yet to see one as simple and easy to do as sleeving. No negatives only positives here.
How does it work?
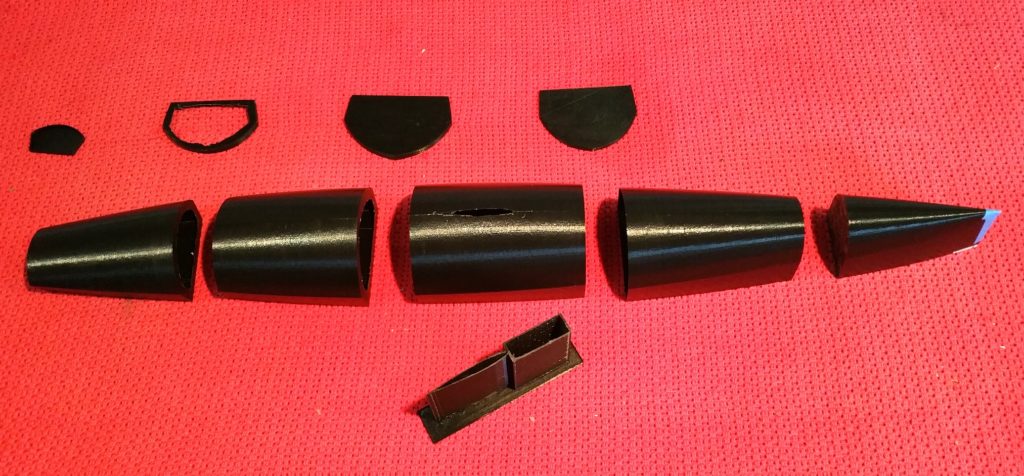
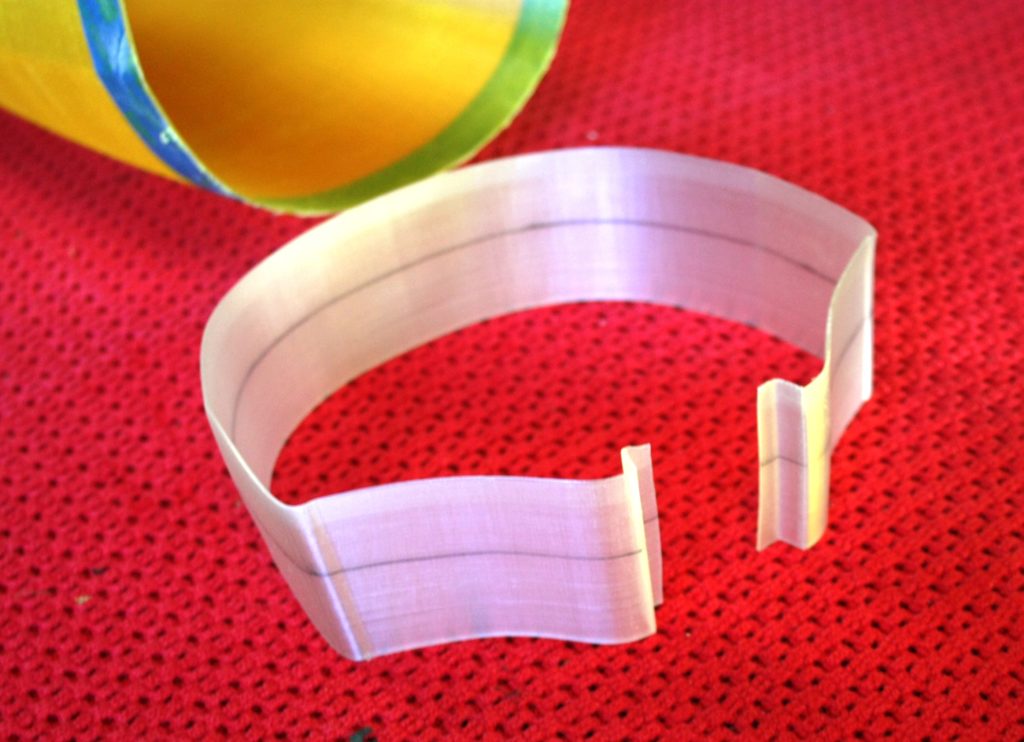
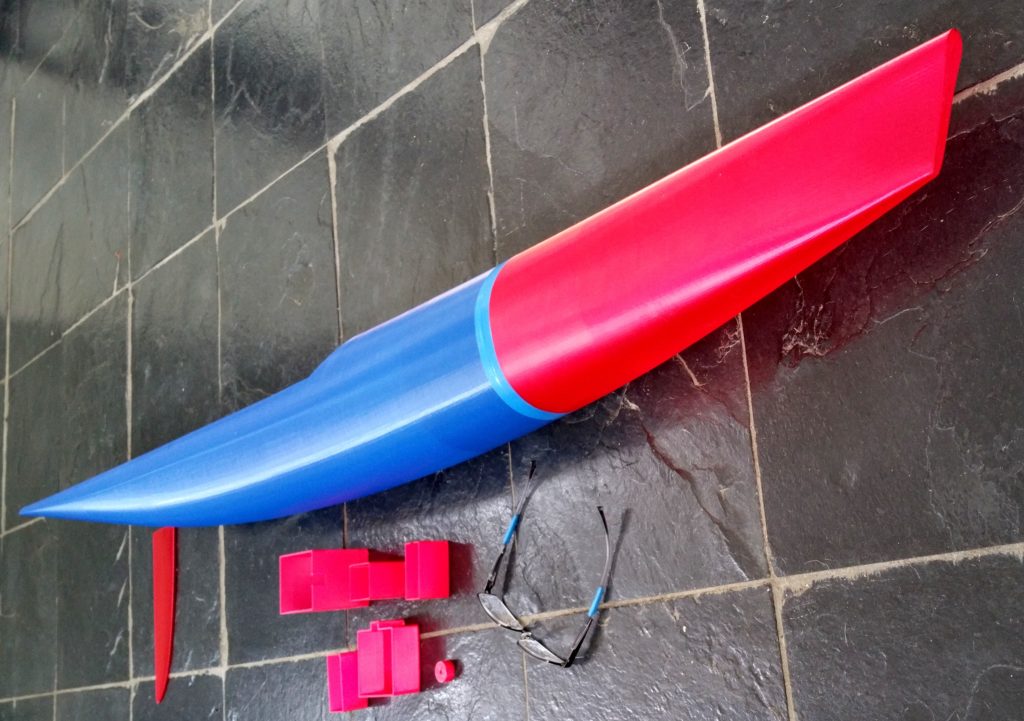
- The key is to print a short section of the hull by sinking your boat down into the virtual table in your software. In this example the strip was about 60 mm wide, plenty of strength in that.
- I would strongly suggest you consider purchasing the Simplify 3d software to do all your digital work for you. It is a few hundred dollars (AUS) and is simply amazing… fast and easy to use.
- Once you have the strip printed, use a pair of scissors and keep cutting thin slices out of it to get it to perfectly slide into both parts of the hull.
- Hopefully you have prepared (printed) the sections to fit neatly against each other… again Simplify 3d is excellent at this.
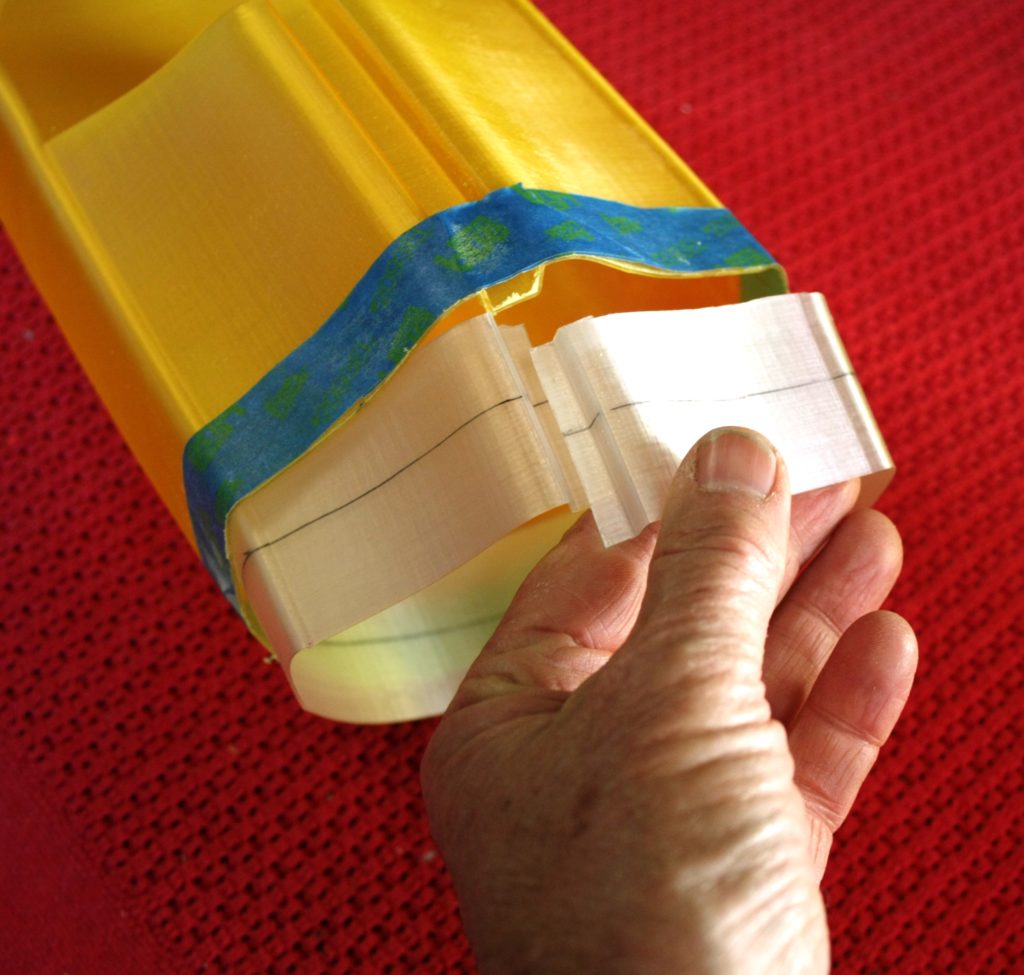
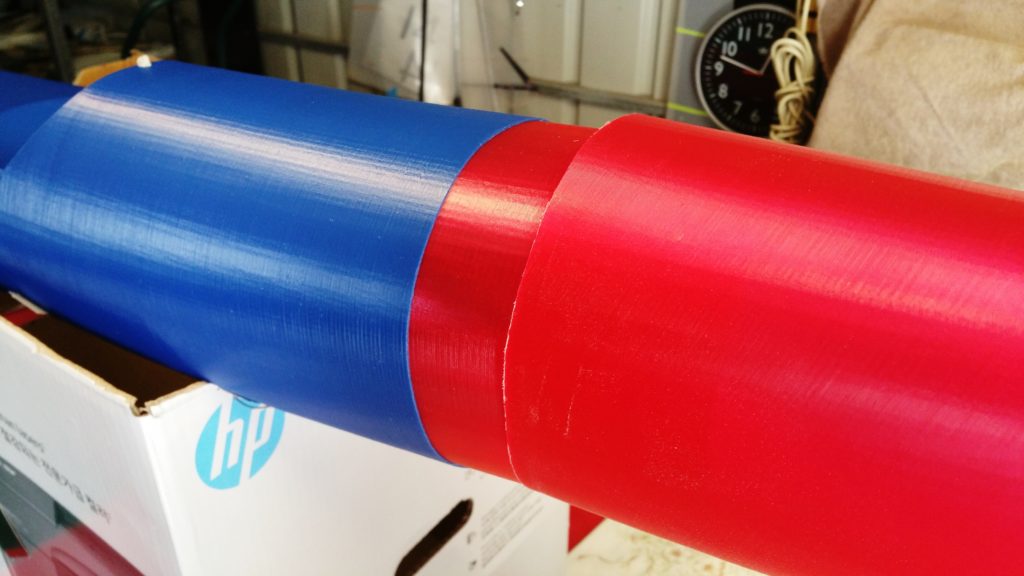
- Mix up some epoxy, let it sit for 90 to 120 minutes (depending on the ambient temperature). The colder the air the slower it cures. When it is the consistency of thick honey use a small paint brush and coat half of one side and slide it into one section. Clean up the excess oozing out with the brush and alcohol and allow to cure overnight. Waiting means that there is very little dripping and I am starting to believe the epoxy grips better.
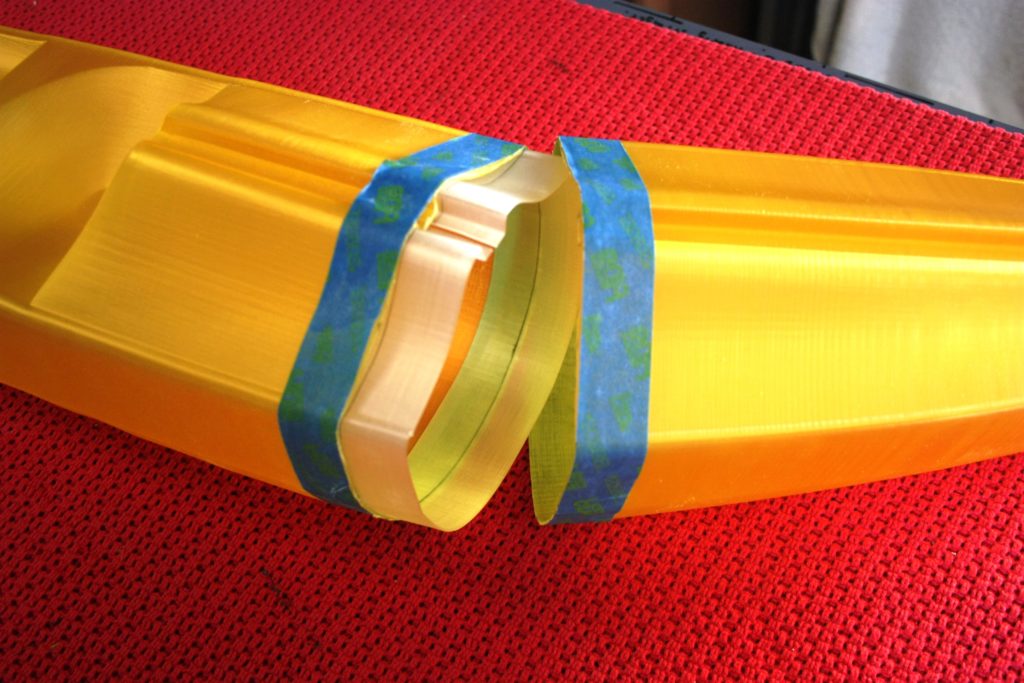
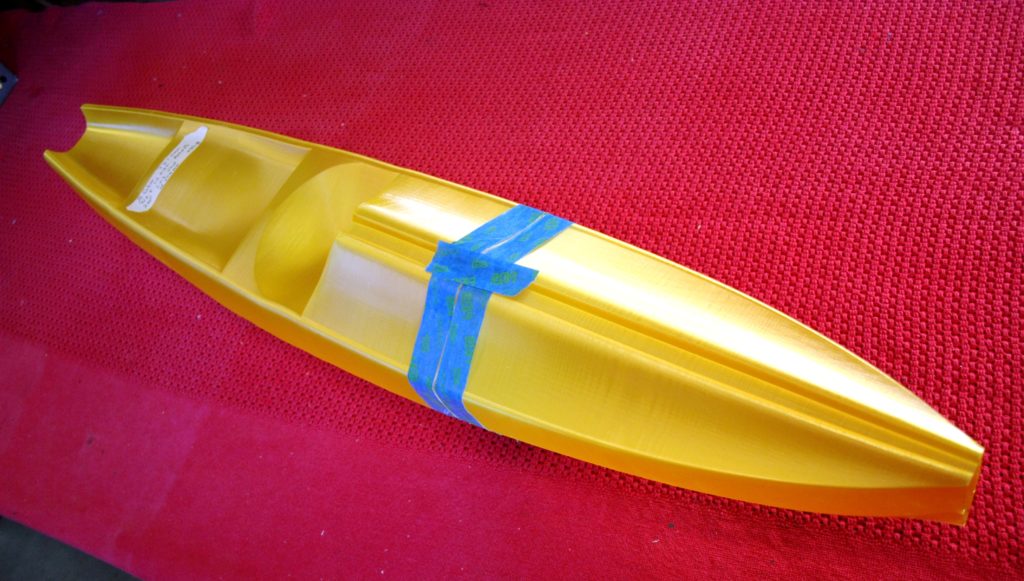
- Repeat for the second section and again clean up with alcohol (methylated spirits). Then wrap a strip of insulation tape around the join to keep it together. Pull the tape off after a couple of hours before the epoxy solidifies. A small trick is to test the left over epoxy in the container you mixed it all up in.
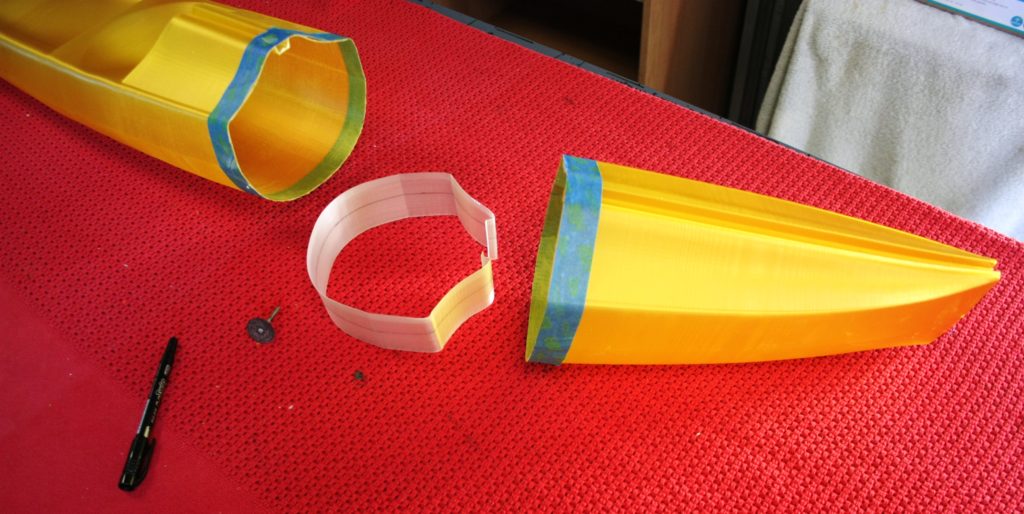
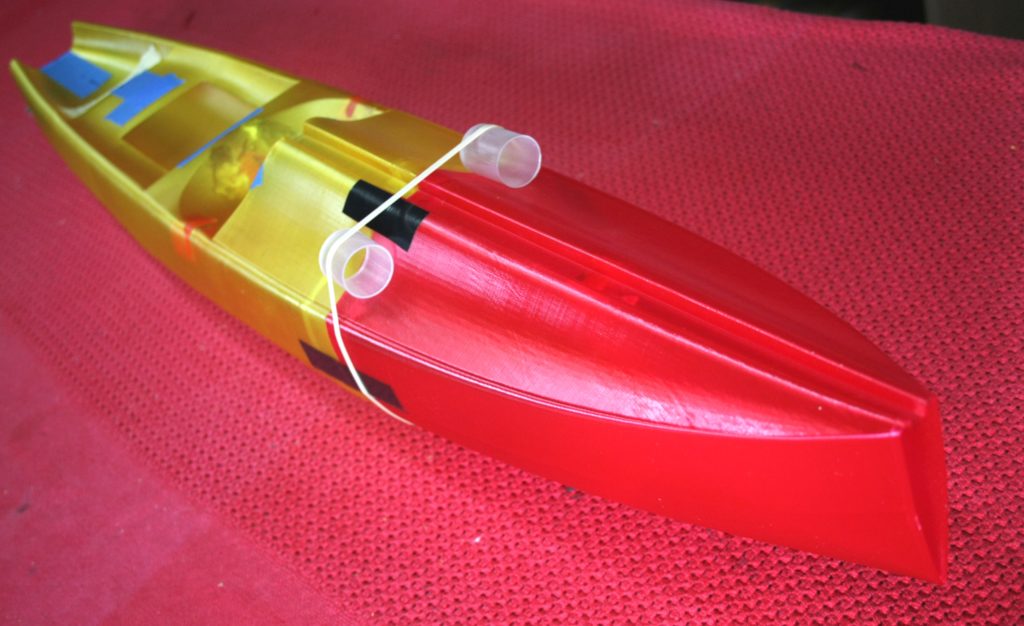
- For inverted or concave sections use a small tumbler and elastic bands to apply pressure to keep the sections joined. They do tend to open up a bit. The image shows how to do this.
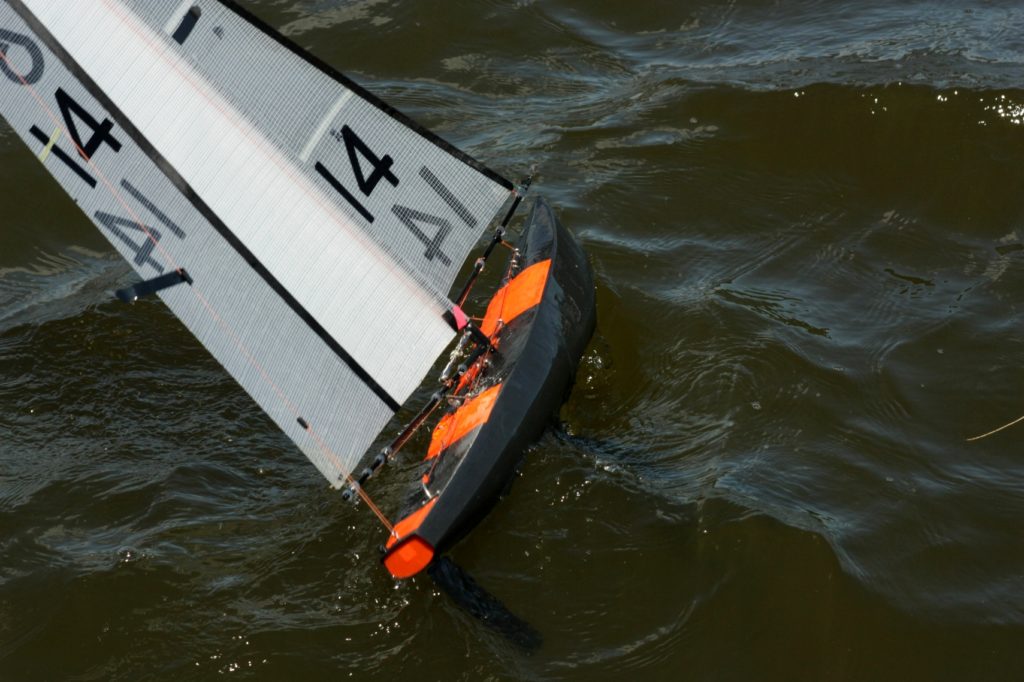
- I used the sleeving to great effect to add strength to the 10R as well. See the final images.
Enjoy the journey.