This is the “feedback” part of the site, snippets from emails and other forms of communication.
_____________________________________
A question from Nigel
I am experimenting using plastic weld liquid which seems much better than epoxy based glues which don’t bond to 3D very well in my experience.
Answer
I use fairly traditional adhesive processes for the PLA and PetG materials I am currently using. I have seen successful welding methods but haven’t experimented yet and probably won’t because my current methods seems strong and rigid.
I prepare the surface by thoroughly washing with methylated spirits (denatured alcohol), then fine sand the surface with fine abrasive. The methylated spirits takes the very slight residual “oiliness” from the surface that comes with thermoplastics. Drastically increases the stickiness in my experience.
Then use either good quality superglue (eg Loctite professional) for small tacking jobs or good quality epoxy for the heavier things. Sometimes mix filler in with the epoxy for filling jobs. I try not to make the epoxy too think because it can warp the hull as it cures.
The other hint worth adding here is that leave the epoxy for an hour or so before applying. When it is like thick honey apply it to the surfaces glue. The big advantage is it appears to stick better and also it doesn’t run everywhere. Thickening with talcum powder or microballoons accelerates the “tackiness”.
Good luck with it all.
________________________________________
A question from Nuno
- What have you found to be better for gluing/bounding the hull parts?
- Do you make any post processing for the hull? Or sanding is enough? Asking this thinking on water gliding/friction. (hope you got the point, my English is a bit rough)
Answer
Hi Nuno,
PetG is a good allround hull material but can get wobbly in flat spots if it is not printed thick enough. If you have trouble with it try PLA if you are doing smaller yachts, it is a bit stiffer and easier to print.
I personally use the Pet G for the larger hulls and PLA for the smaller and now PLA for all the parts to be added to the hull.
Gluing is easy:
- Wash the area to be glued with methylated spirits then sand both surfaces slightly to rough them up.
- PLA and PetG both will glue well with a good quality epoxy or superglue.
Experiment with small pieces first.
I have worked hard to get good surfaces in the printing. So happily do nothing with surfaces … just go sailing. The slight printed roughness seems to have no affect on performance from our extensive (and by others) testing. Make sure your drive mechanisms are all firm but not tight and that you don’t try to print the hull too fast… use vase (spiral) mode with a thicker nozzle if you have one. I run the hull printing and other things at about 60-70% of “normal” recommended speed.
Good luck, I will warn you it is all often frustrating but also VERY addictive.
Hope this helps.
______________________________________
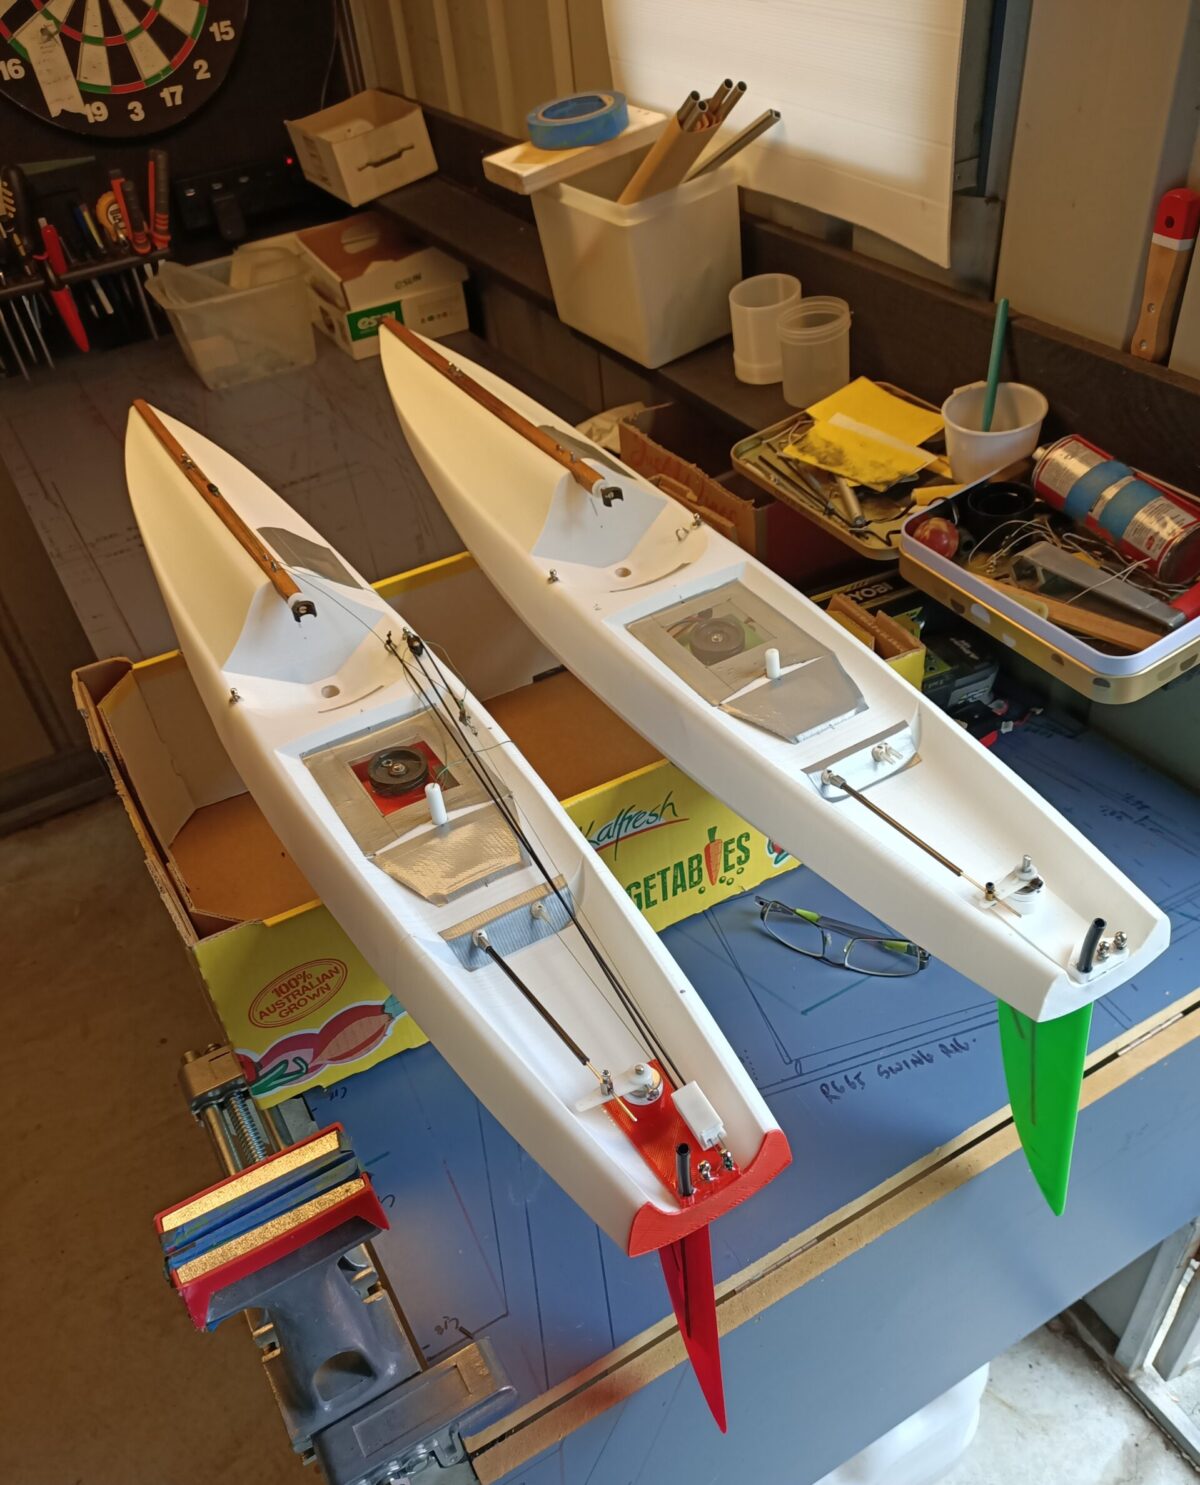
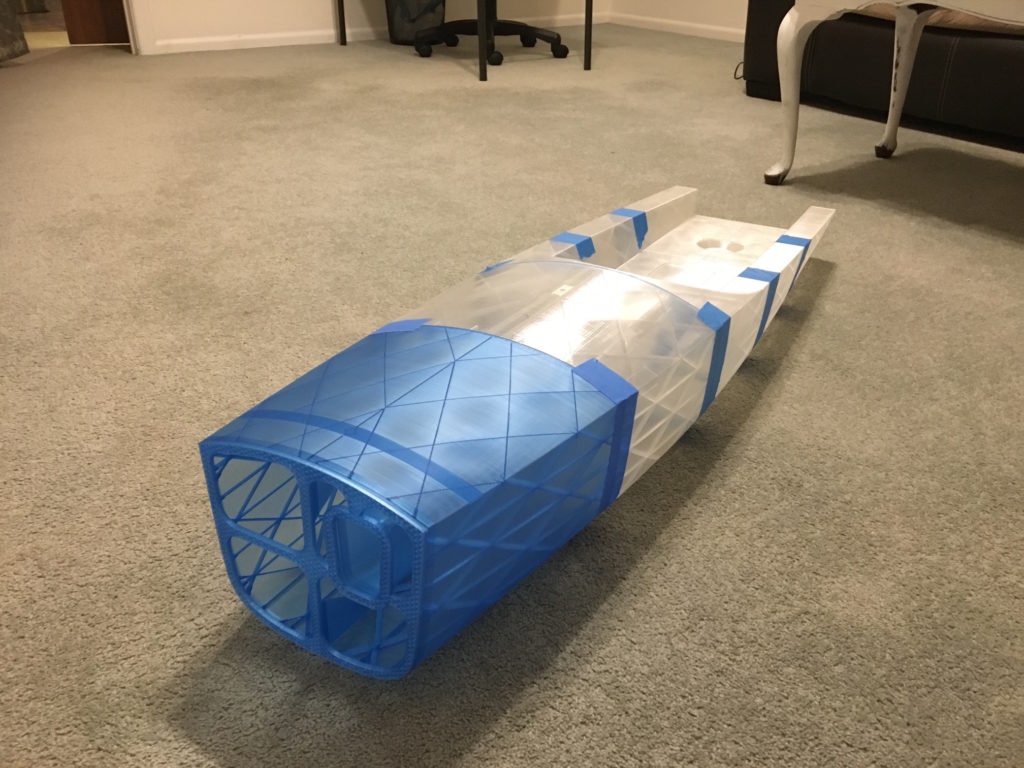
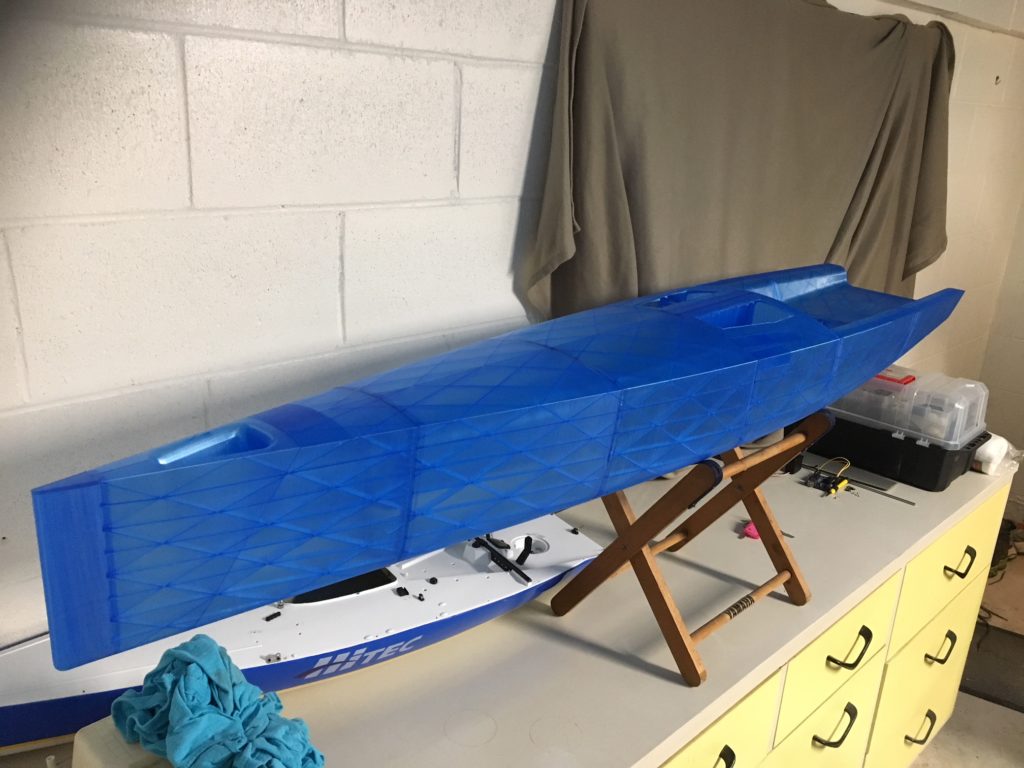
The latest on Philipp’s work in Japan.
“After the success of my 3D printed RG65 (as published on thingiverse), I am now working on a new design IOM, in ABS this time. The design concept is similar, with the hull in four segments maxing out both on height and width of the printing volume of my little Kossel printer.
I also printed Bill Hagerup’s Footy from thingiverse, and it sails fantastic. Tons of fun, big thanks to Bill for publishing and for the good instructions on your page.”

_____________________________________
Dear Kayne,
_______________________________________
Hello Selwyn,
First of all a huge THANK YOU for the inspiration your site provides. Especially the spiral vase method was the key for me to achieve usable hulls. I printed Andreas Hoffmann’s manta2017 RG65 design and was very surprised to find myself on 3rd place of 15 in the Southern German RG65 ranking event on August 6th.
My findings are the same as yours – the inherent roughness of the hull printed in 0.2 mm layers does not slow the boat down at all. I use the hulls as they come off the printer. Even the designer Andy Hoffmann himself (he came second) was very impressed after sailing my boat for a couple minutes.
I am documenting my story in the German RG65 forum: http://www.forum.rg-65.de/view
Philipp from Japan
_______________________________________
A Few Questions From Antoine
Dear Selwyn
You made great with 3D IOM boats !!!!! Its like a revolution… Tx to you!
I’m a French IOM mesurer and my question is as such :
-Does the material of synthetic 3D printers is specified by the IOM rules ? (D2.1)
– how do you join the hull’s sections ?
-The quality of your hull’s surface does not look so good (asperities and bumps with 3D) how do you justify it’s efficiency?
-what’s the weight of the hull with all reinforcement before electronics ?
Antoine FRA
Dear Antoine,
_____________________________________________
____________________________________________________
Just Like The Internet
Wow! I’ve seen Selwyn’s 3D boats sailing/racing and I’ve gotta say this is like when the internet first hit 27 years ago:
- Initially everyone was sceptical
- Everyone “bagged it”
- It then proved itself to be a “game changer”
- Everyone wanted it
- It becomes mainstream and everyone accepts it as “the normal” from where the next breakthrough comes from
Ed
__________________________________
From the web site: “3D printed boats”
(Snippets from the RCsailing.net forum)
For the past year or so, I’ve been collaborating with my Australian friend, Selwyn Holland, in what we think is a project that represents the future of Open Class development.
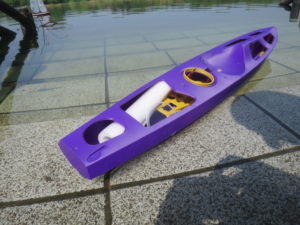
That may sound like hyperbole, but we have been able to combine my design work and Selwyn’s engineering to produce 3D-printed boats. I realize that a number of you have printed fittings successfully, and some have experimented with hulls, but Selwyn’s extensive experimentation and testing have made 3D printing a viable alternative to any other construction method…and a better one than most.
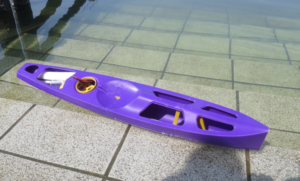
Here is a picture of one of our RG65 prototypes on the water:
If that intrigues you, check out his new website here: https://3dprintedradioyachts.com
Still having fun with toy boats……….Bill
(Bill is a long term designer and advocate of all things RC Yachts from the US)
Hi Bill,
Yes I’m intrigued and skeptic at the same time, but always curious !
Most intriguing me are the weight, strength and costs once applied to a larger boat like a class M.
Ageing effects ?
I shall read the content of the link…
Cheers
ClaudioD
Claudio,
I understand the skepticism…but this really works. The largest boat we have on the water is an IOM…but Selwyn will be doing a 10R when time permits. A couple of test hulls were printed. Eventually, I think we will do all of the International classes.
The weight and strength are no problem…comparable to carbon hulls. We waited to go public with this until we (mostly Selwyn) worked out the kinks and until we had boats that proved they could win races. Once the initial investment is made in the technology, printing a hull is dirt cheap. Of course, this is too new to know about the effects of aging.
Since you already have the CAD skills, you just need to find a friend (like I did) who has a good printer. Even working across the globe, Selwyn can ask me for a change, I can do it and send it via email, and he can have it printing the next day. The slowest part of our turnaround time is when he has to send me stuff through snail mail.
I just Googled about UV resistance…turns out PLA is highly resistant to UV radiation.
Bill
_________________________________
Printing my own RG
Selwyn,
This is excellent. I’m in the process of hopefully printing out an RG of my own. Reading through your site, I’ve gained some helpful insights and look further to your further posts. There are a couple things I’d like to talk to you about. I won’t be there on Saturday as I’ll be up at Lake Macquarie for IOM#2. But looking to catch up with you sometime.
Andrew.
(Secretary of the Wollongong Model Yacht Club, Australia)
___________________________________________________
Nice site
Hi Selwyn,
Nice site & great that you’ve received so many visits.
Lookin’ good there, son. 🙂
Regards, Laurie..
(Long term RC sailor, Australia)
___________________________________________________
No Strings Attached
Hi Selwyn
Just had a look at the website after your enthusiasm for the future of 3D printing in RC yachting this afternoon.
You should be proud of your achievements and ground breaking methodology which you are quite happy to share with no strings attached!
I tip my hat to you well done and keep up the great work!
Barry
(long term big boat sailor and now RC. 25 years as Club Captain at the Port Kembla Sailing Club, NSW, AUS)
___________________________________________
Not A Single Drop Of Water…
Well Selwyn, I have more good news!
I was admiring one of the hulls yesterday, thinking I actually prefer the finish from the printer, without the epoxy coat. And with your awesome printing skills, it looked really tight. So I put a pound of lead in it, taped up the ends, and floated it in the laundry tub…oops, I mean the test tank. Left it there for 12 hours. Opened it up this morning and there is not a single drop of water in it…not one drop!
Awesome job, my friend………..thanks.
Cheers………….Bill
__________________________________________