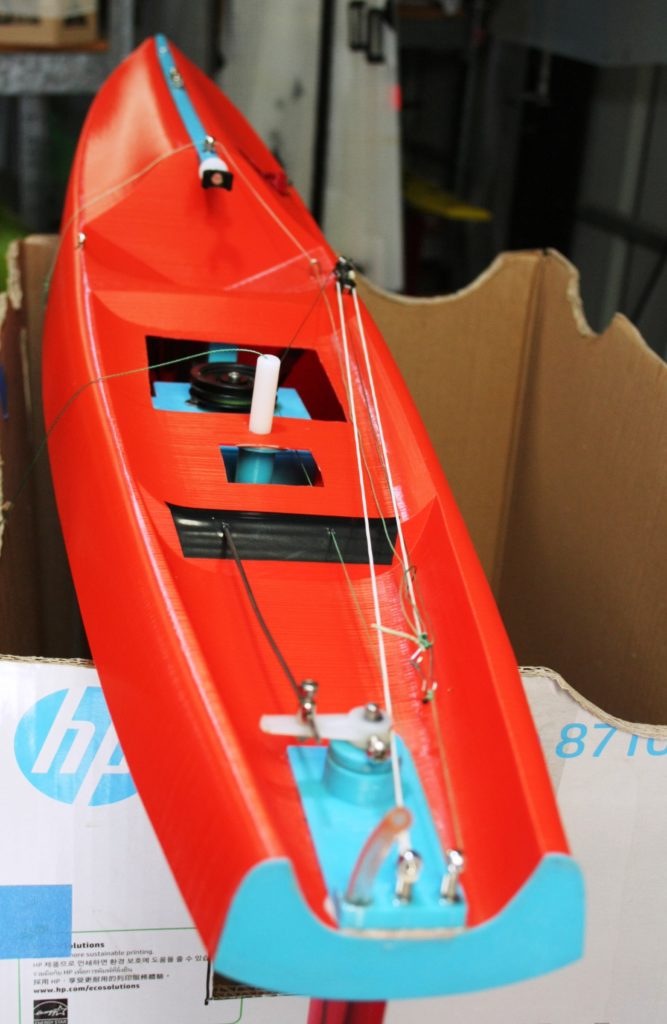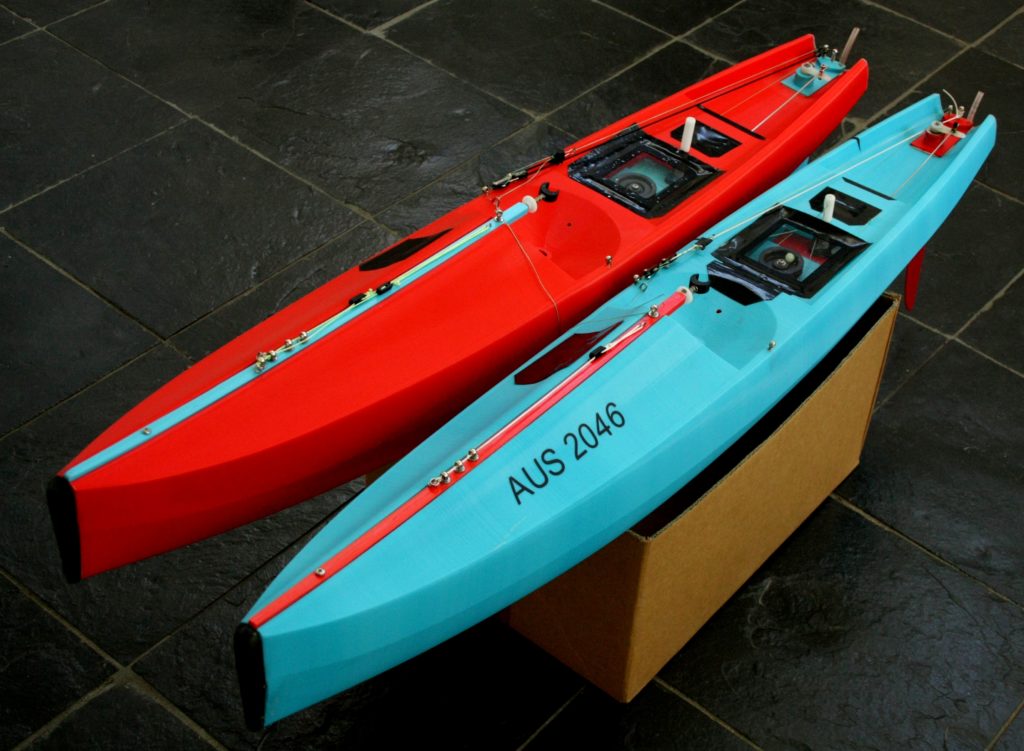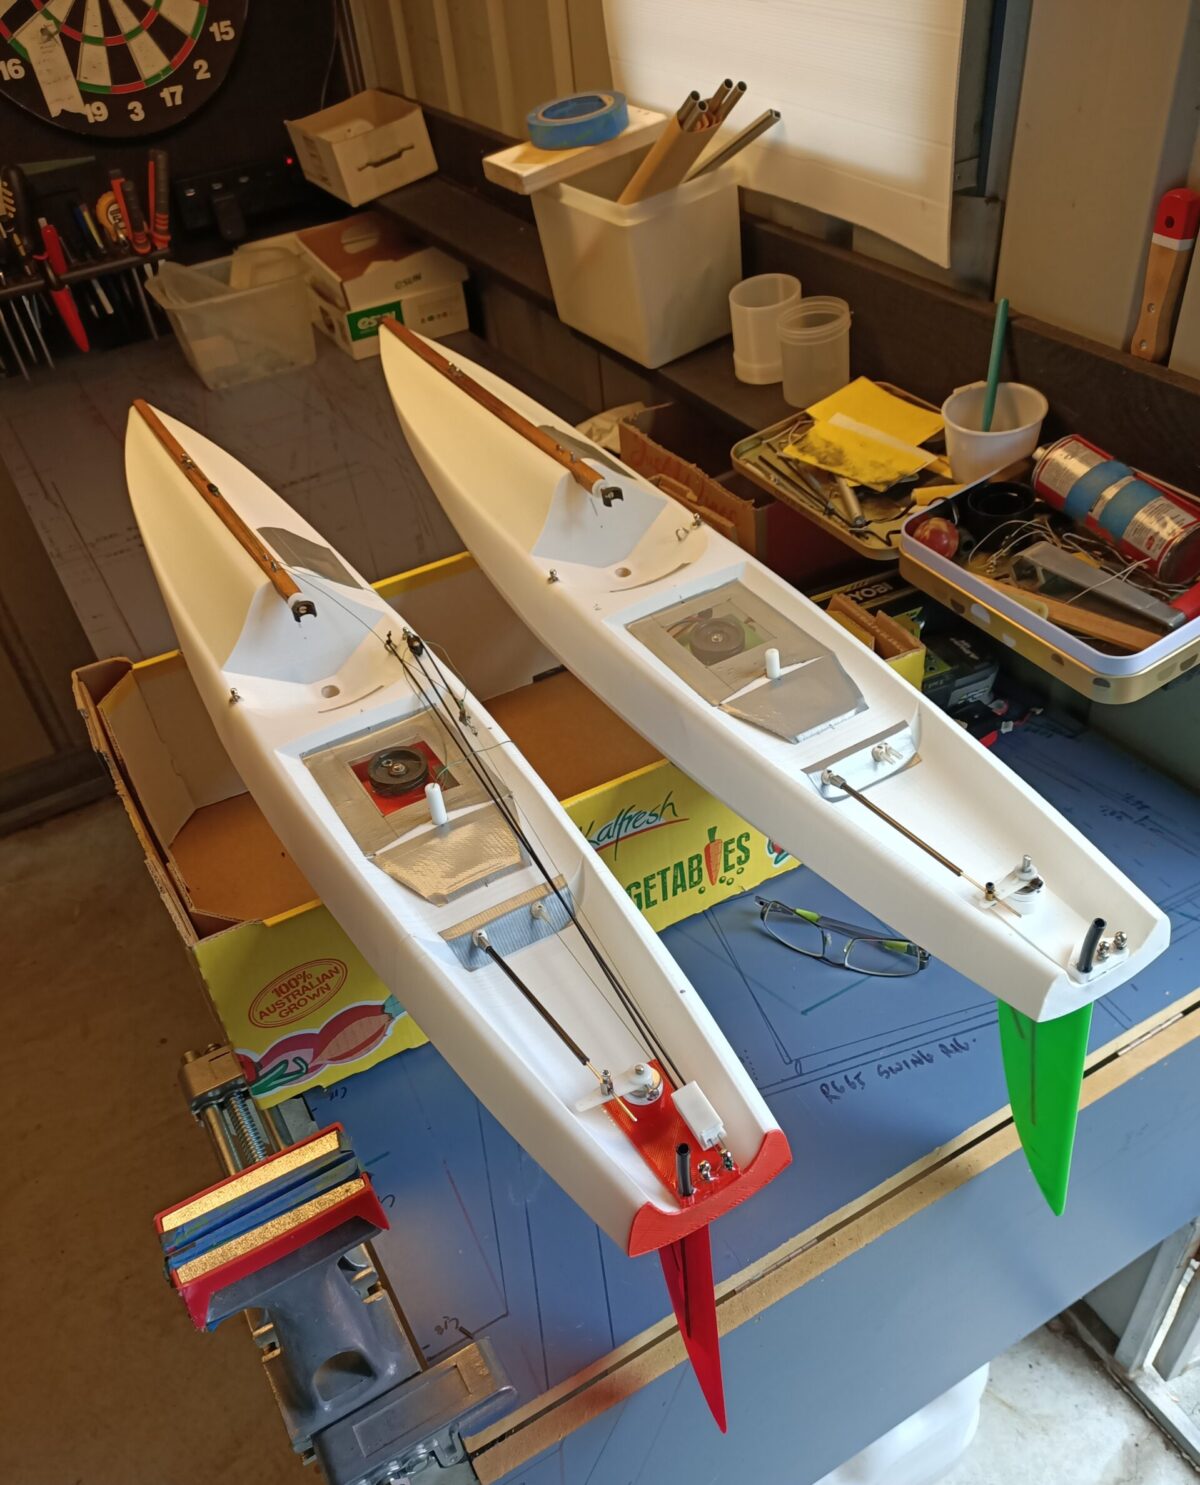
Detailed description of the pin, sheeting and deck layout
The numbers in this article are for the IOM Sabre 3D. Just scale the process down for the smaller RC yachts.
First, if you haven’t, please make sure you print with PLA+ from Esun. You should be able to secure a supplier either in country or internationally. This material has superior stiffness, finish and resilience to fracturing. Racing twice per week with multiple classes, I haven’t had any damage to these PLA+ yachts since first using it over 12 months ago. I sail them just like the fibreglass and carbon yachts here.
Second, there is a big range of STL files over a number of classes ready elsewhere in the site to get you into the water with proven designs without having to design them yourself.
OK, I have been asked many times for the details concerning the deck rigging. The bottom line is I use a very basic layout, and therefore rarely have things go wrong.
Front pin for A rig jib swivel depends on where your swivel is on the boom. In my case the pin is 310mm from the front of the mast, this gives a small clearance to swing past the mast.
The sheet post is approximately 210mm behind the mast in the centre of the deck and set in a tube secured to the bottom of the hull.
The side stays are just behind the mast on the sides and and in line with the front edge of the keel.
Please make sure you secure all pins with something solid below the deck… I glue three or four layers of PLA sheeting underneath with superglue if I can’t get the pin down through something solid like a strut. Drill a slightly undersized hole for the pins, test screw them in then remove and then drop a small amount of epoxy into the drill hole before finally securing them. Works well, nice and strong.
The rudder shaft is 55mm from the stern in the centre of course. Backstay pin is set in the backplate at the stern.
The drive sheeting and rudder push rod are run out through the 45 degree bulkhead decking and a sheet of sticky back or high quality insulation tape. The tight fit keeps it all water tight. They really do work, the trick is lining up the holes to set them straight through… good luck, a bit of thinking required there. Much simpler than exit tubing.
The drive sheet is swivelled (returned) at the stern and starboard side stay.The side stay has two pulleys, one for the sheet and the other for the elastic for tensioning. This is a basic layout that works well and is mostly above deck to see if anything is going wrong.
Images attached below to help you visualise all this.
That is the system I use for the Nano, RG65, 65 Class, IOM and 10R. The only differences are the dimensions.
Good luck and hope this helps.