1. Further Testing of Materials for Radio Controlled Yachts
(Please note: this article was written 2 weeks before the Break Through discovery detailed in the article before this one. Regardless, the information here is still relevant and true. It just shows how things can change quickly sometimes)
After you fine tune your skills and start producing good quality 3d printed objects, your mind will naturally want to know the best or most appropriate thermoplastics to use. In many ways this has been the most intense and interesting part of all the research, but is the hardest to show adequately in images.
So you will just have to believe me until you have tried it all yourself.
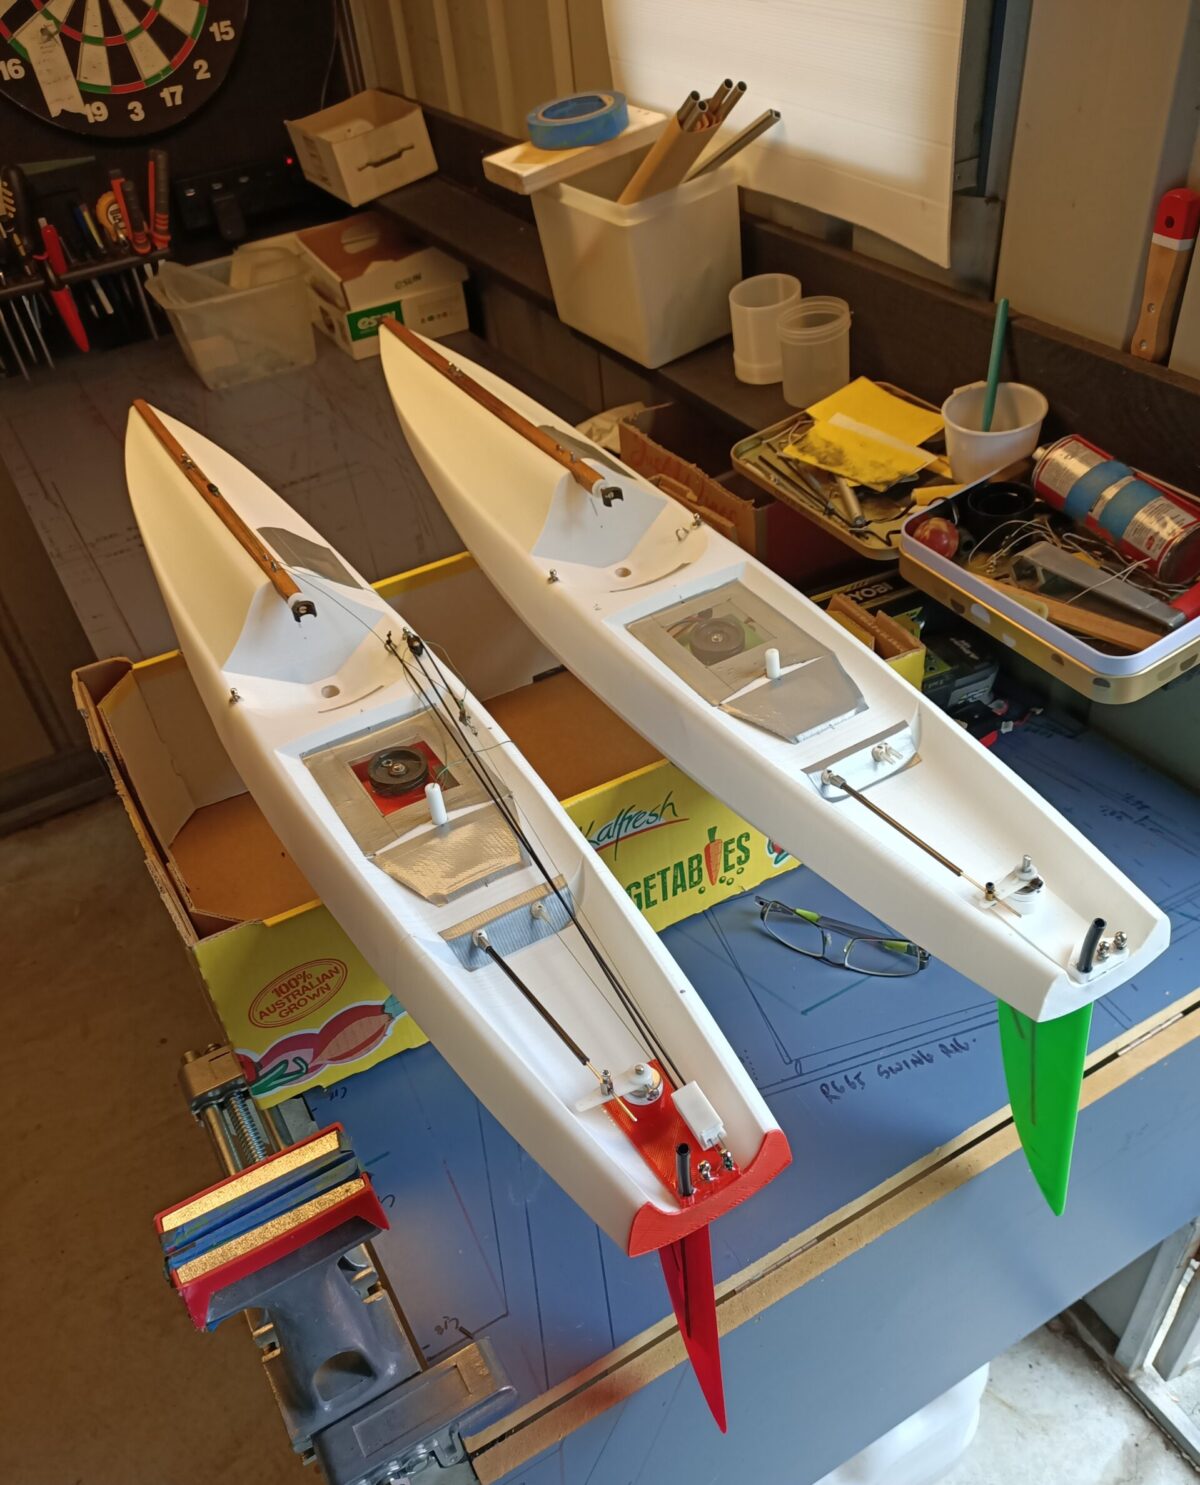
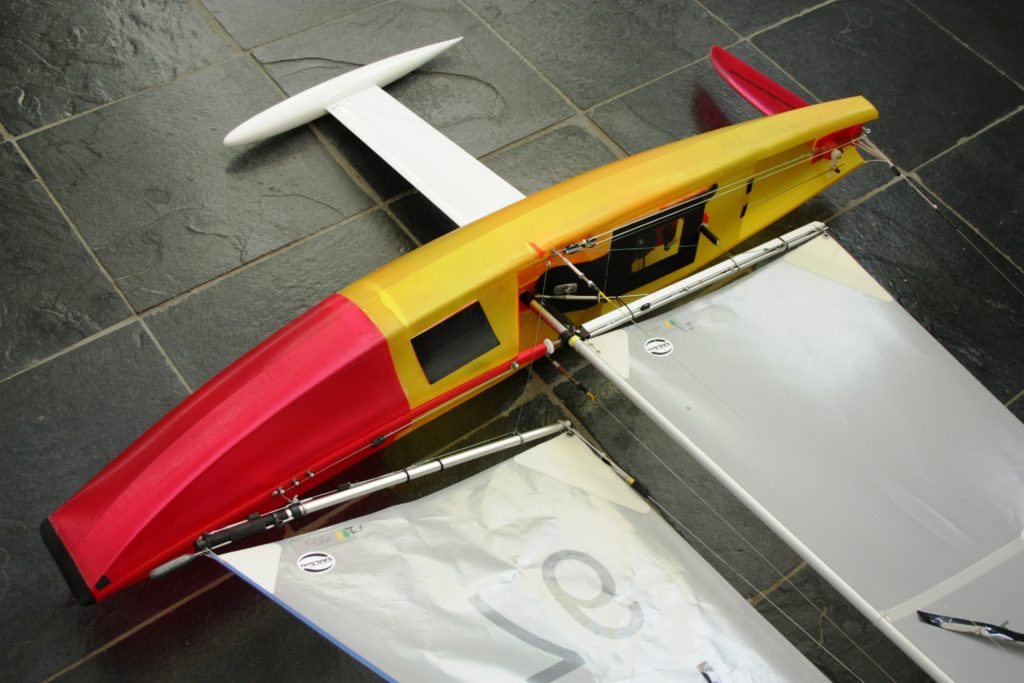
This new hull has been a test bed for three types of materials: PLA, PetG and ABS. Besides the odd metal pin, all of the parts from the keel box to the rudder are 3d printed. The ultra stiff keel and hydrodynamically efficient bulb are supplied by Craig Smith.
The materials in this boat include:
PLA
PLA is the most common and in many ways the most useful thermoplastic available for RC Yachts.
The observations:
- Readily available in many colours from clear to solid and good value
- Strong and easy to print down to fine objects.
- Great for smaller hulls like 65 Class and Footies. You can get down to a low hull mass and still maintain the rigidity needed for bumps and rough sailing conditions.
- I started out coating a layer inside of epoxy diluted with about 15% methylated spirits to give extra strength and seal any minor gaps. But I don’t bother now because high temperature printing seals it all very nicely. Bill was the first one to point out that the epoxy wash was not needed through testing with the Footies.
- PLA can be used for larger yachts like IOMs but I feel that PetG is superior in a number of ways, especially in terms of toughness and resistance to hard contacts.
- In this boat, PLA was used for the bow plate, battery box, keel box, some of the rudder housing, deck opening surrounds and the foredeck beam set in for stiffness. Also the internal sleeve for joining the hull sections and the water proof winch, servo and receiver boxes.
PetG
- My favoured material for producing a strong and resilient hull
- It is slightly more dense than PLA, so you will need to watch the mass especially with the larger hulls.
- The surface finish is superior to PLA and ABS. I have never sanded a PetG hull.
- When using spiral mode, you will need to use a larger nozzle size and produce a slightly thicker hull to overcome the annoying ripples that can develop when trying to produce thin hulls. They seem to appear most prominently on flatter sections.
- The thick hull is a trade off in terms of extra mass, but if you get it right, the hull is strong and resilient. PetG is almost identical to the clear plastic in water bottles.
- If you are doing the hull in sections, you may not have this ripple problem.
- In this boat it was used for the hull and the rudder.
- Like PLA, if the surfaces are alcohol washed and slightly sanded first, they stick very well with epoxy and super glue.
ABS
- I will say from the beginning, I dislike this material because of the occupational health and safety issues. Only use this in a well ventilated area where the fumes cannot drift into living areas. Try to set it up and leave it alone. An efficient exhaust fan to the outside will help.
- Having said that, it has some very nice features. The main one is the rigidity (stiffness) even down to very thin sections. Experiment with it to balance strength, weight and rigidity.
- It has a density less than PLA or PetG and could be very useful for smaller hulls.
- From my tests, it is not as resilient on the water as PetG but is stiffer.
- In this boat ABS was used for part of the rudder system, internal vertical foredeck support and the struts attached to the keel box.
- For joining sections, use the same method as for PLA and PetG
All three materials seem to be water proof and so far UV resistant.
So What Is High Temperature Printing?
I have been promoting this wherever I can. It is so simple but took me over 12 months to realise it’s usefulness.
When you have a new reel of any of the materials, OR you are reusing a material that has beeen on the shelf foe a while, OR you have taken a bit of time getting through a roll…. TEST IT’s TEMPERATURE RANGE PLEASE.
Load up something simple like a 50mm diameter tube to print, set it on spiral or vase mode and start about the middle of the temperature range. Then every 10-20mm of printing height change the temperature up say 5 degrees. This way you will find the maximum temperature where the material starts to spit and spat and produce a poor print.
Let’s say you find the PLA reel will go to 225 deg C, then come back about 10 degrees (215 deg C) and print from there. I have found the maximum temperature range changes over the length a filament on even very good quality materials. They also vary from reel to reel regardless of the colour and manufacturer.
This is very valuable for producing strong and well bonded hulls. Watch the natural sheen on the surface, if it is starting to go flat and lose its sheen, then something is changing. Increase the temperature slowly over time until the nice sheen appears again.
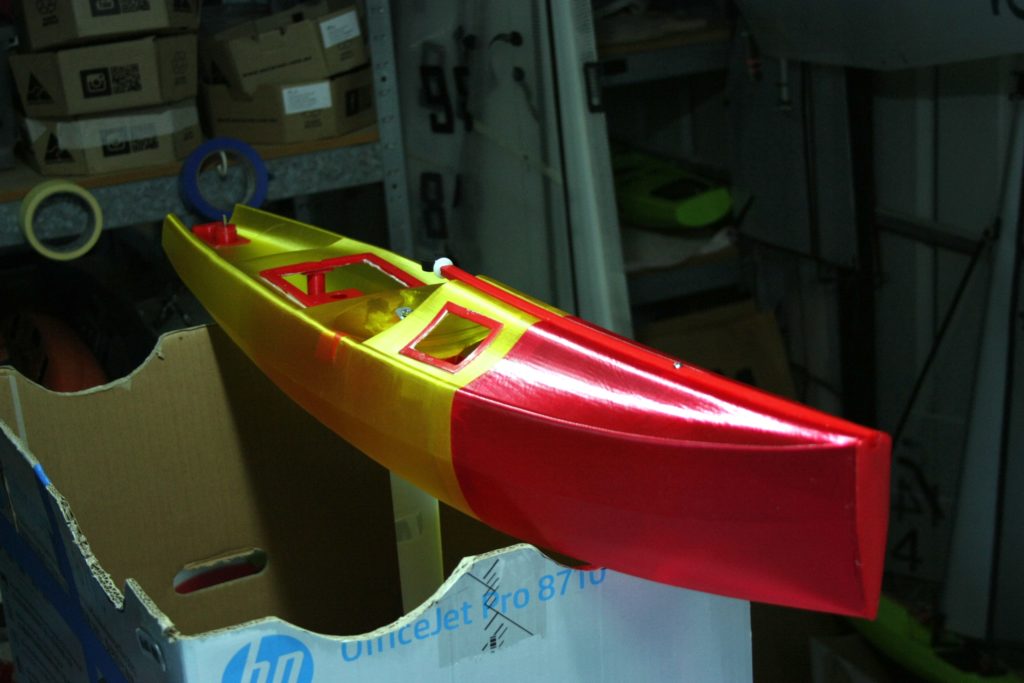
Notice the lovely sheen on this PetG printed hull. A good sign of a high temperature print, this will produce a strongly bonded hull that should not crack. The cooler the temperature the greater the tendency to crack along the printing lines because of poor bonding between layers.
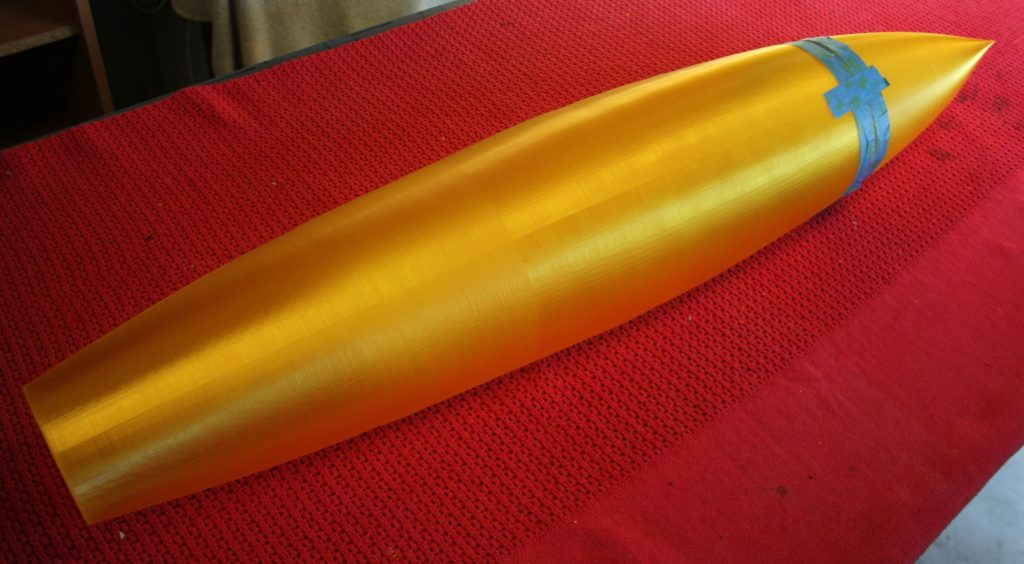
This next image was printed from the stern up. Notice how the sheen slowly disappeared. When it was noticed, I increased the temperature to bring the better bonding and sheen back again. It is a very good visual guide over the many hours of printing.
Hope this helps and good luck.